
360° VR Motion Graphics: After Effects Workflow & Composition Techniques | Part 2
In Part 2 of the series we see how to bring 3D assets into Adobe After Effects to build our scene. This includes the 360° stereoscopic background loop made in Cinema 4D. (Watch Part 1 to see how that’s done). It’s composited with 180 green screen footage shot with a 3D 180 camera. Color grading techniques are also covered, to create a seamless futuristic design.
Thank-you Hugh Hou (CreatorUp) and Jonathan Winbush (Winbush Design & Animation) for this series on “How to create cinematic 360°VR using Cinema 4D, After Effects, Redshift, Subpac, Mettle FLUX and Mantra VR”.
Jonathan used similar techniques in his award-winning 360/VR music videos for Mix Master Mike – Moonbase Invasion and Magma Chamber VR.
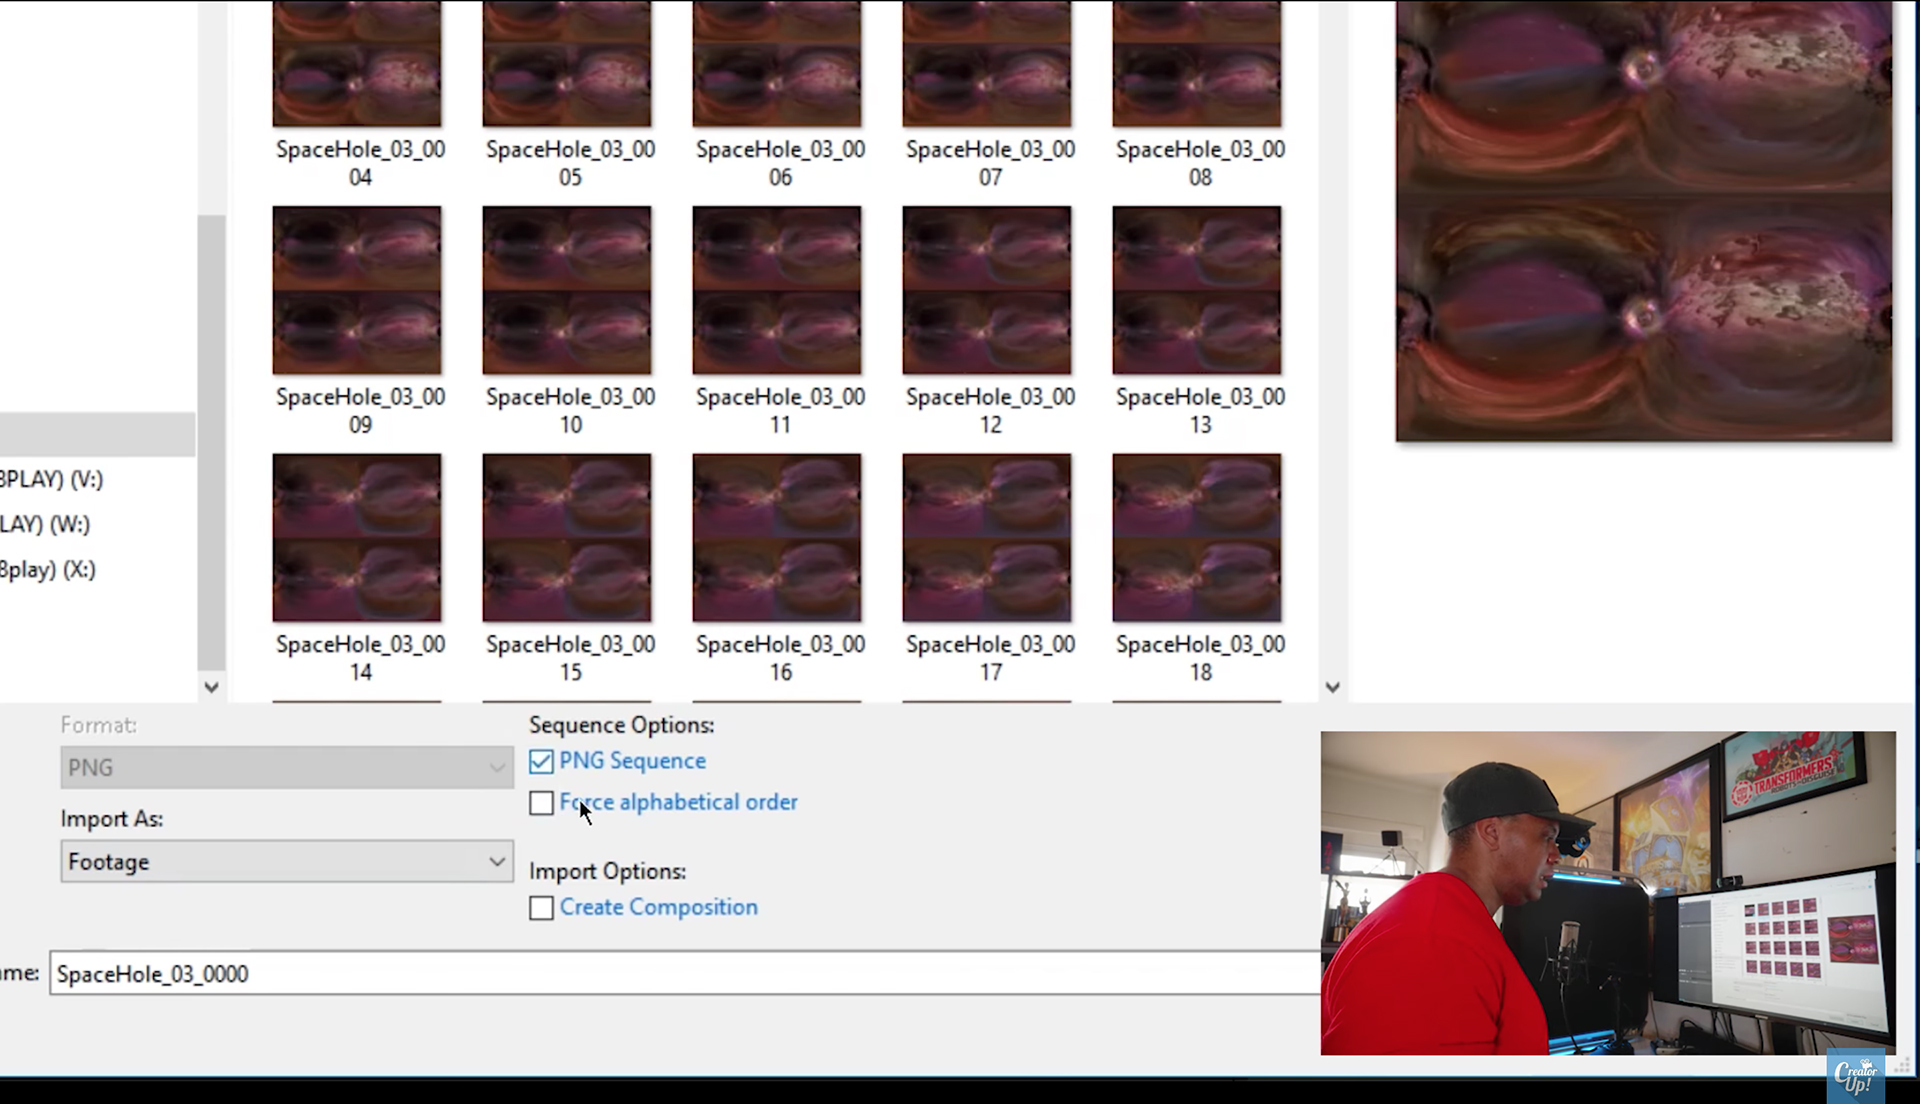
Jonathan imports his C4D loop into After Effects as a png sequence.

Adobe After Effects> Immersive tools “Plane to Sphere”, changes a Solid into Stereoscopic Over/Under Format.
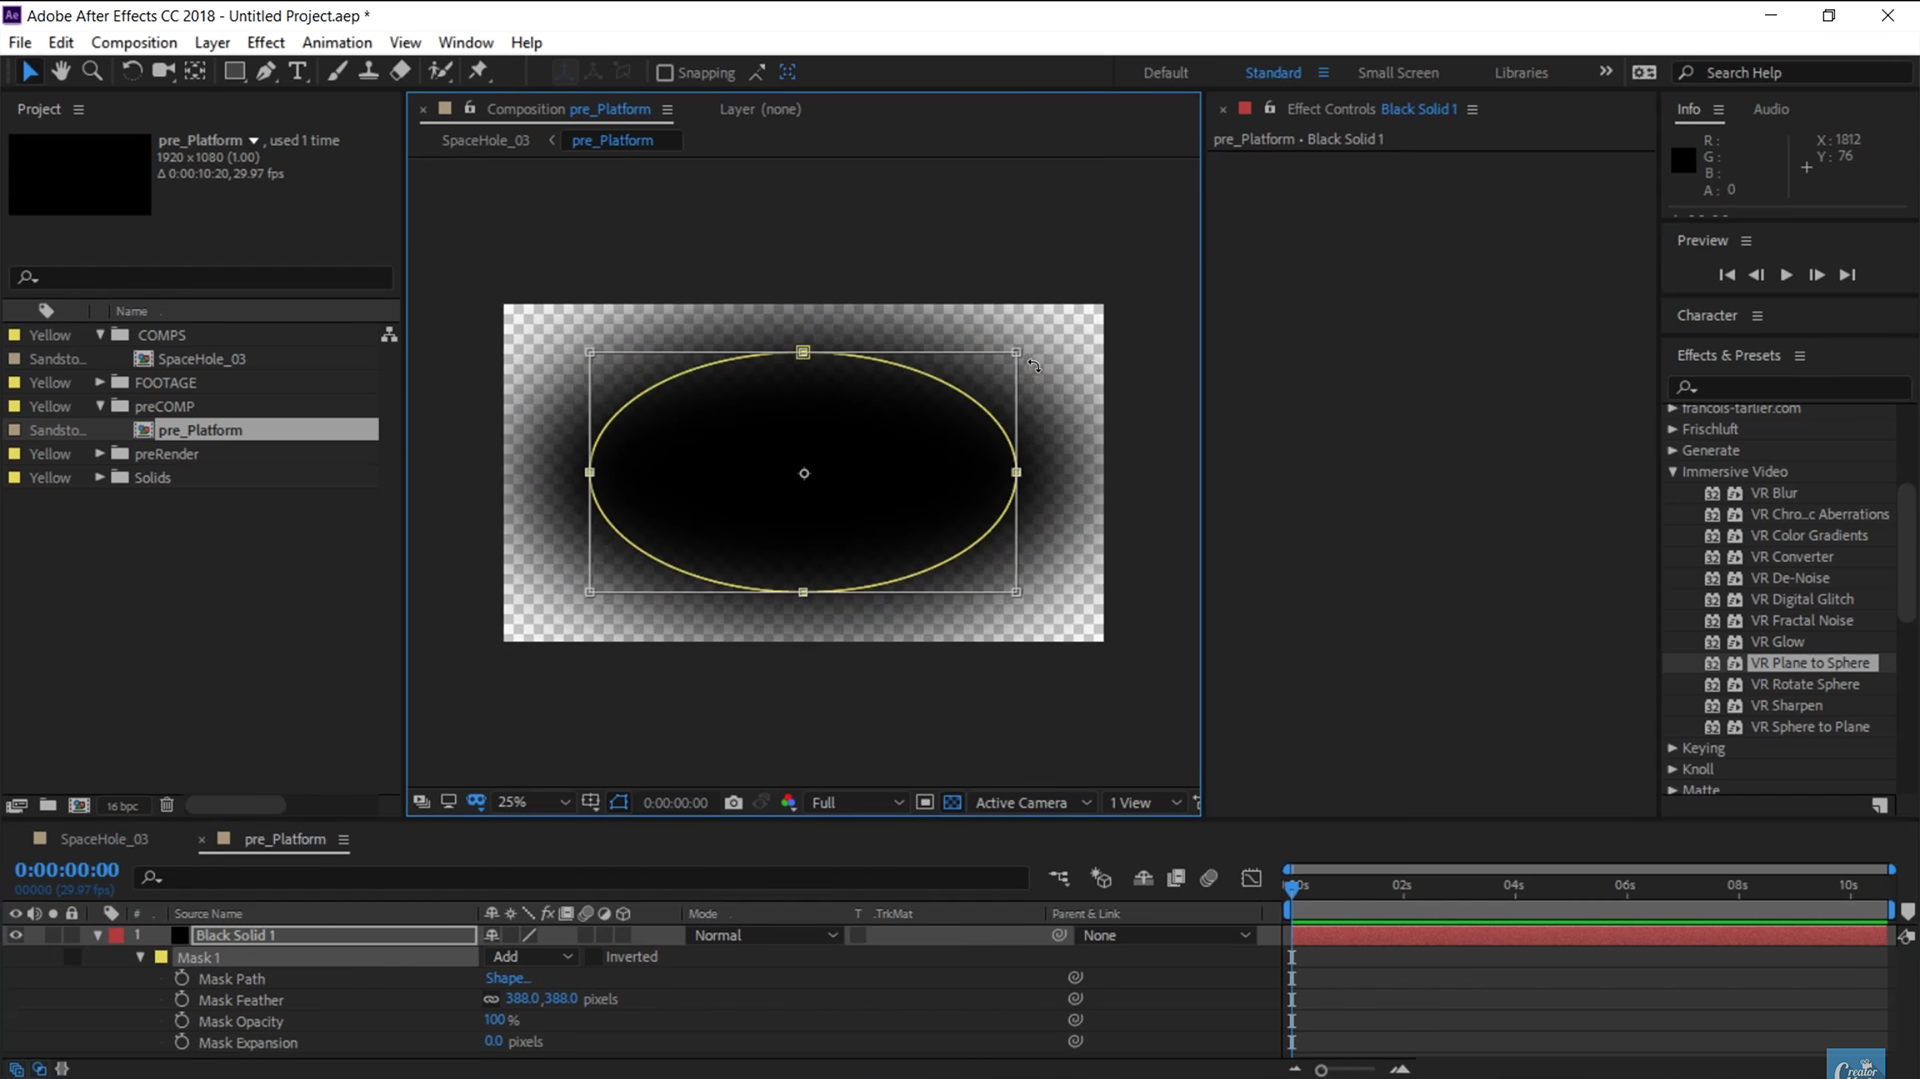
Feather the Solid in your pre-comp.
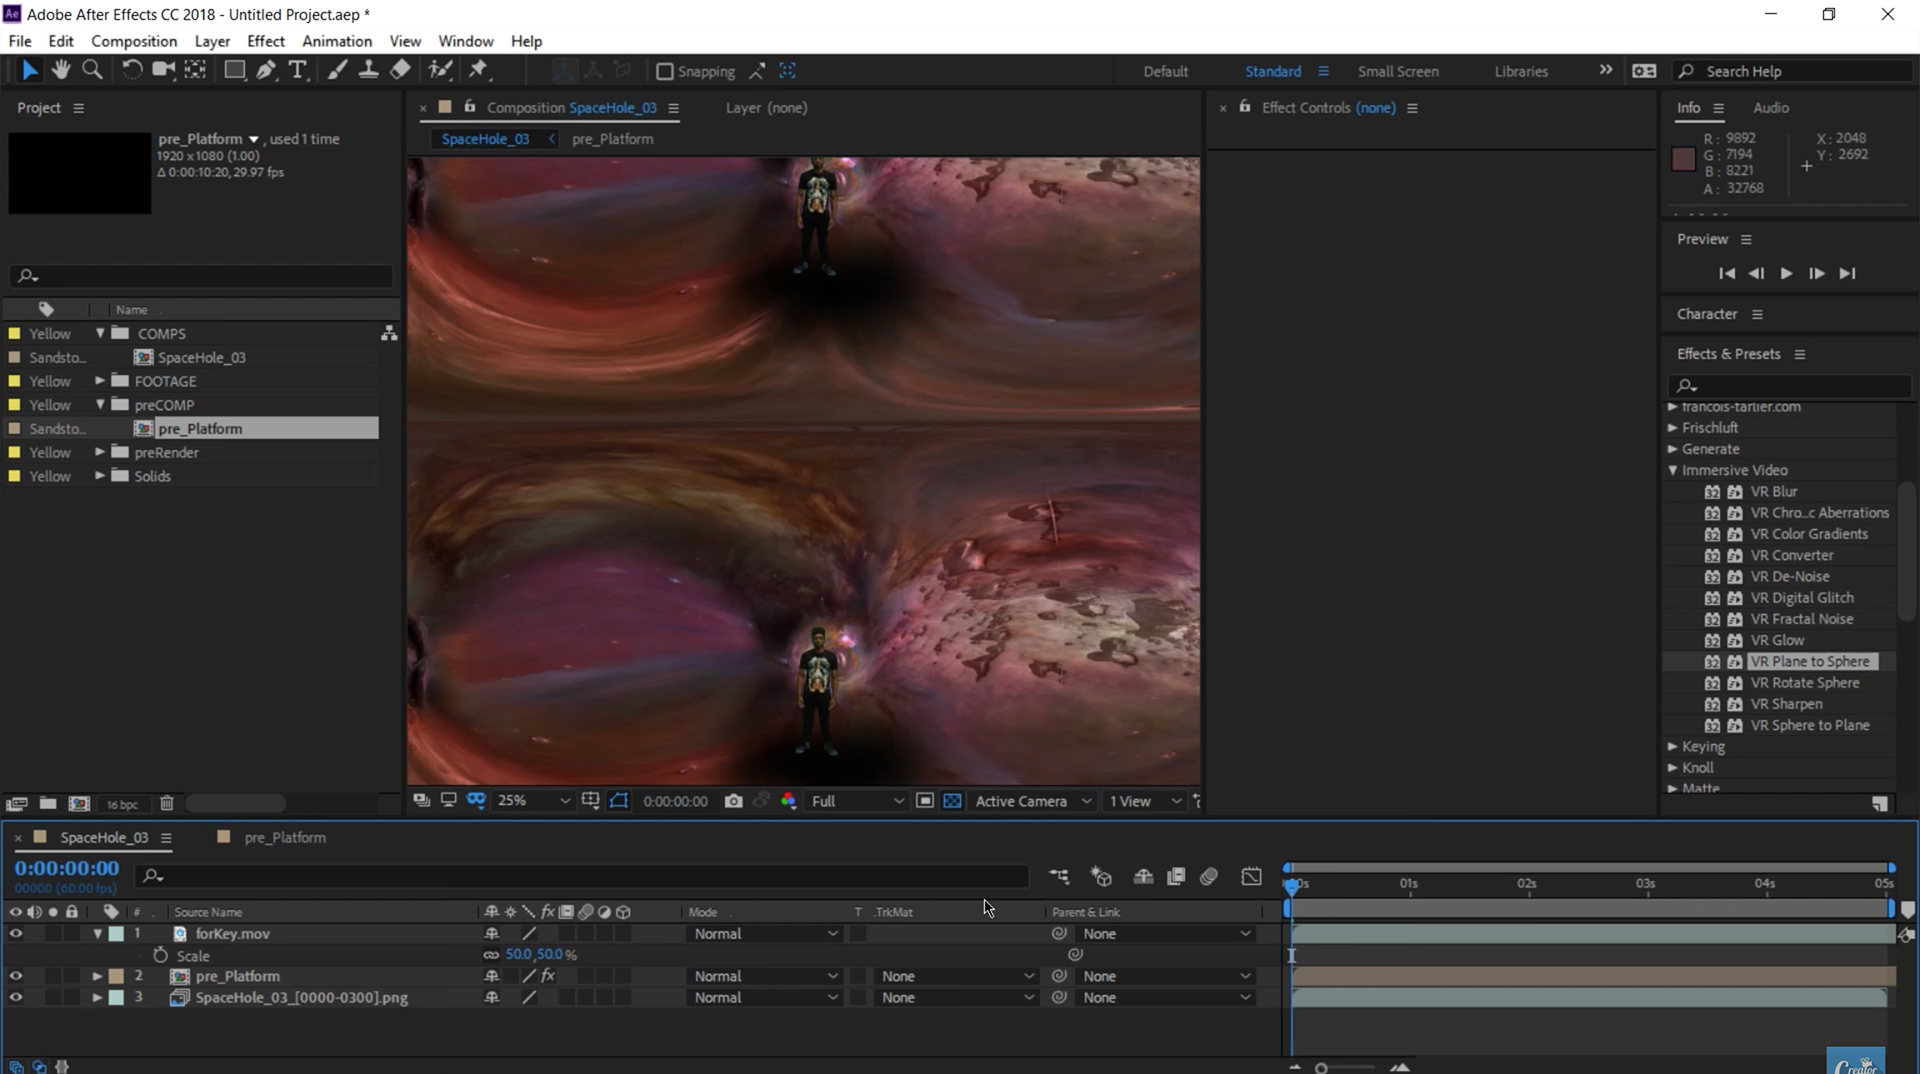
Feathered Solid in the Pre-comp becomes a “platform” under the 180 footage of the man.
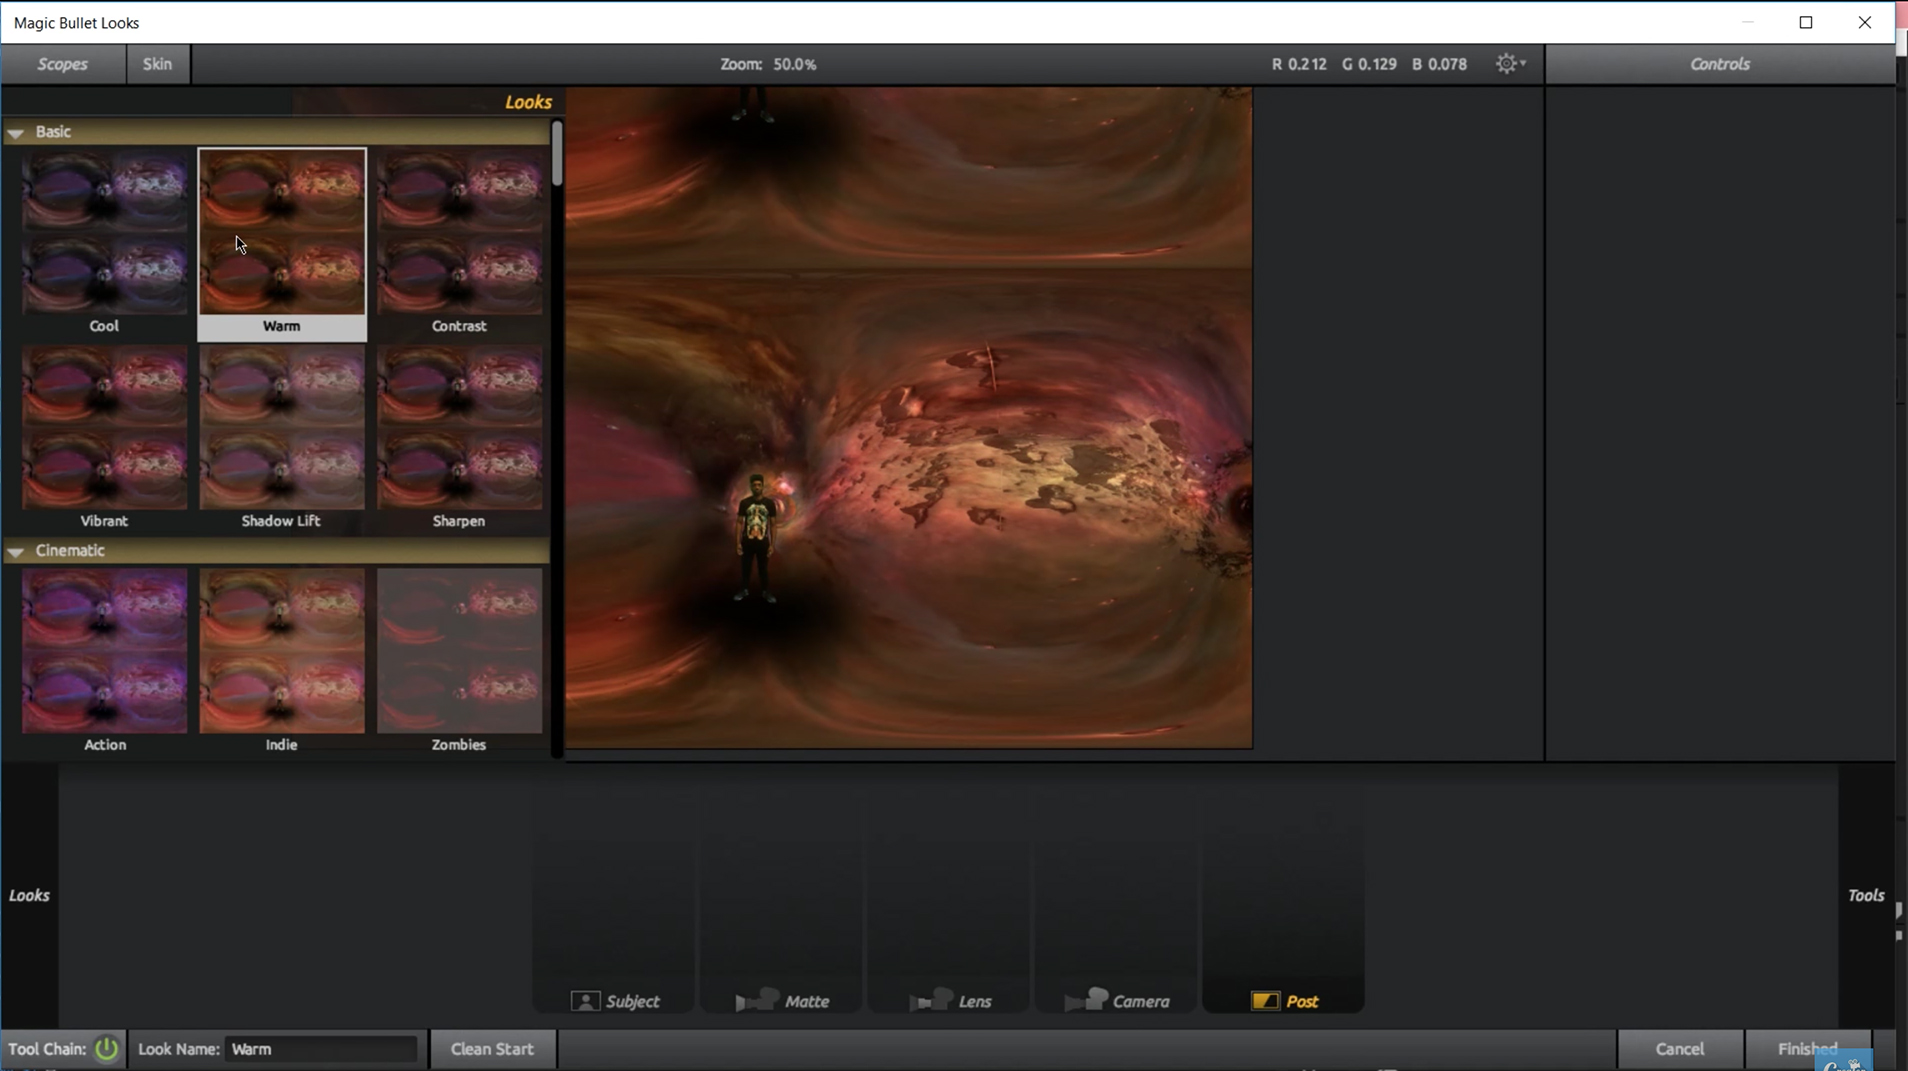
Apply “Magic Bullet – Looks” on an adjustment layer to bring the scene together.
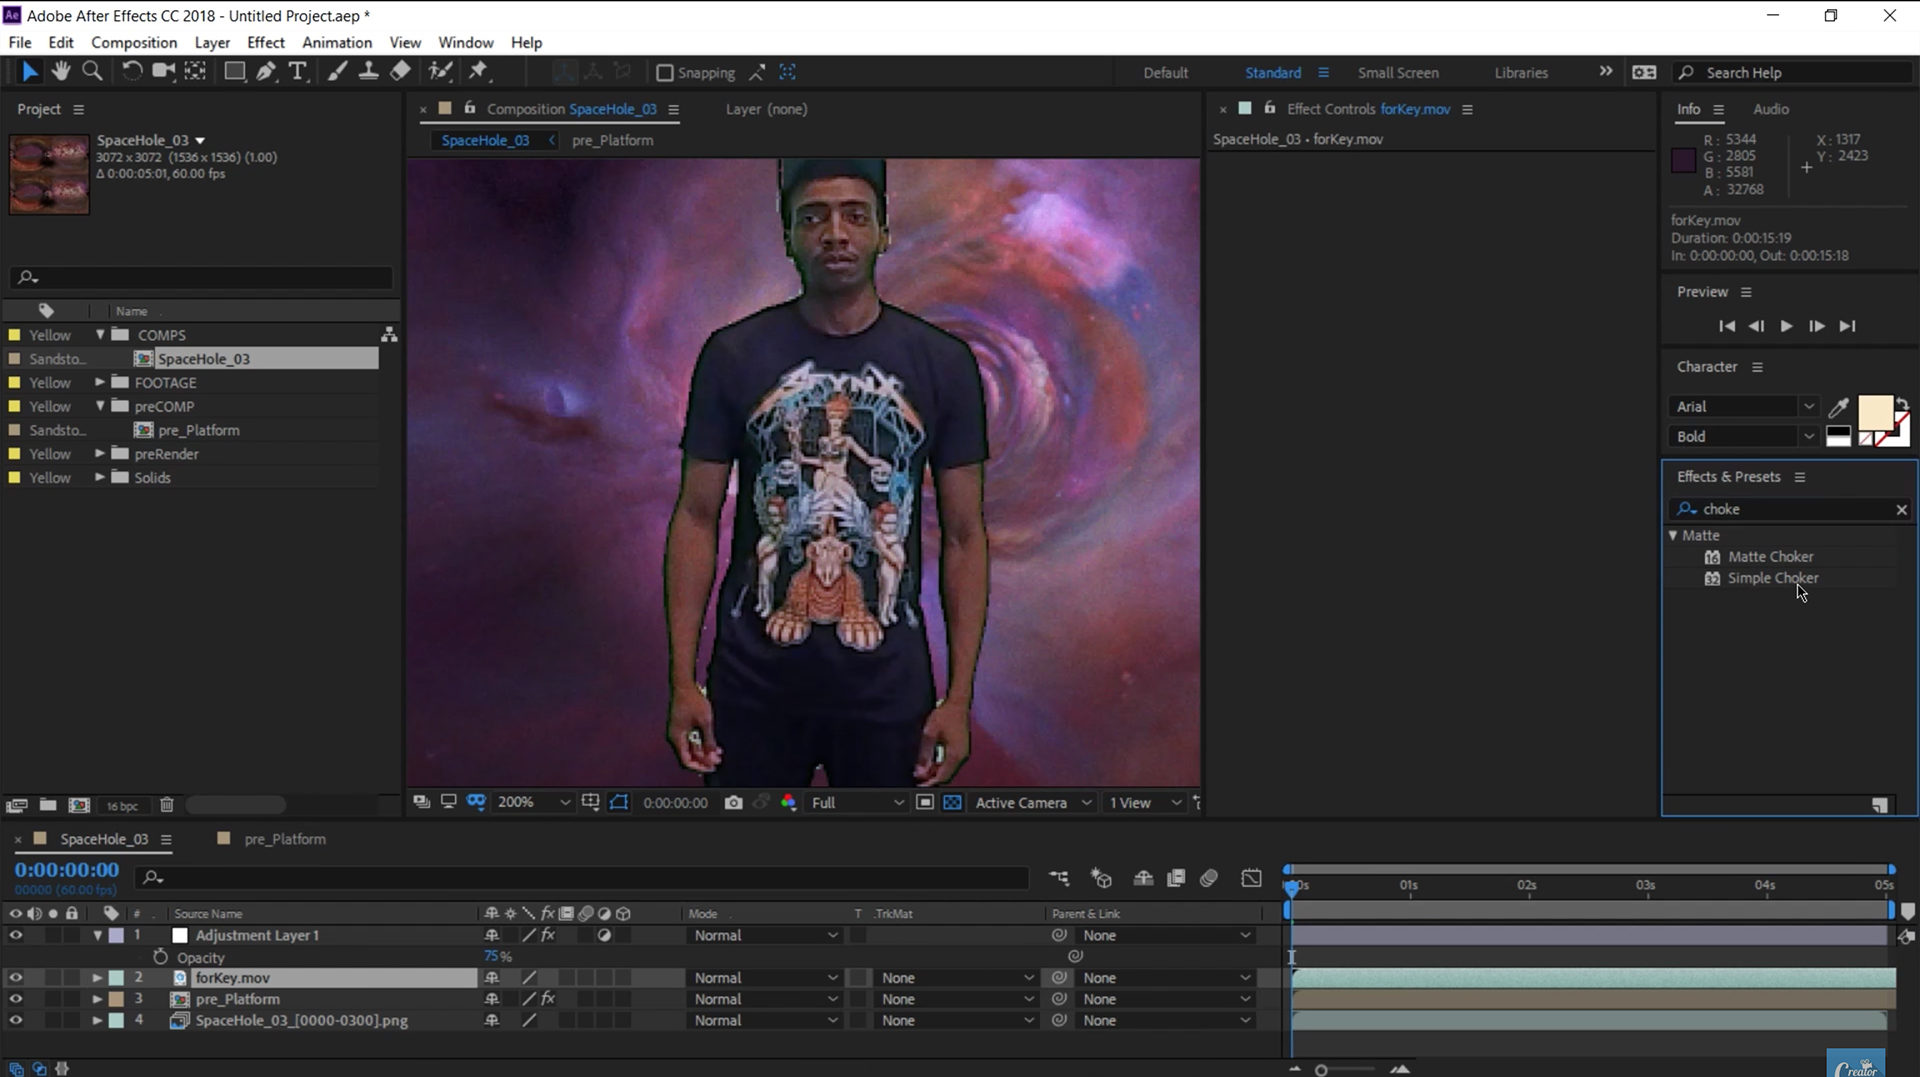
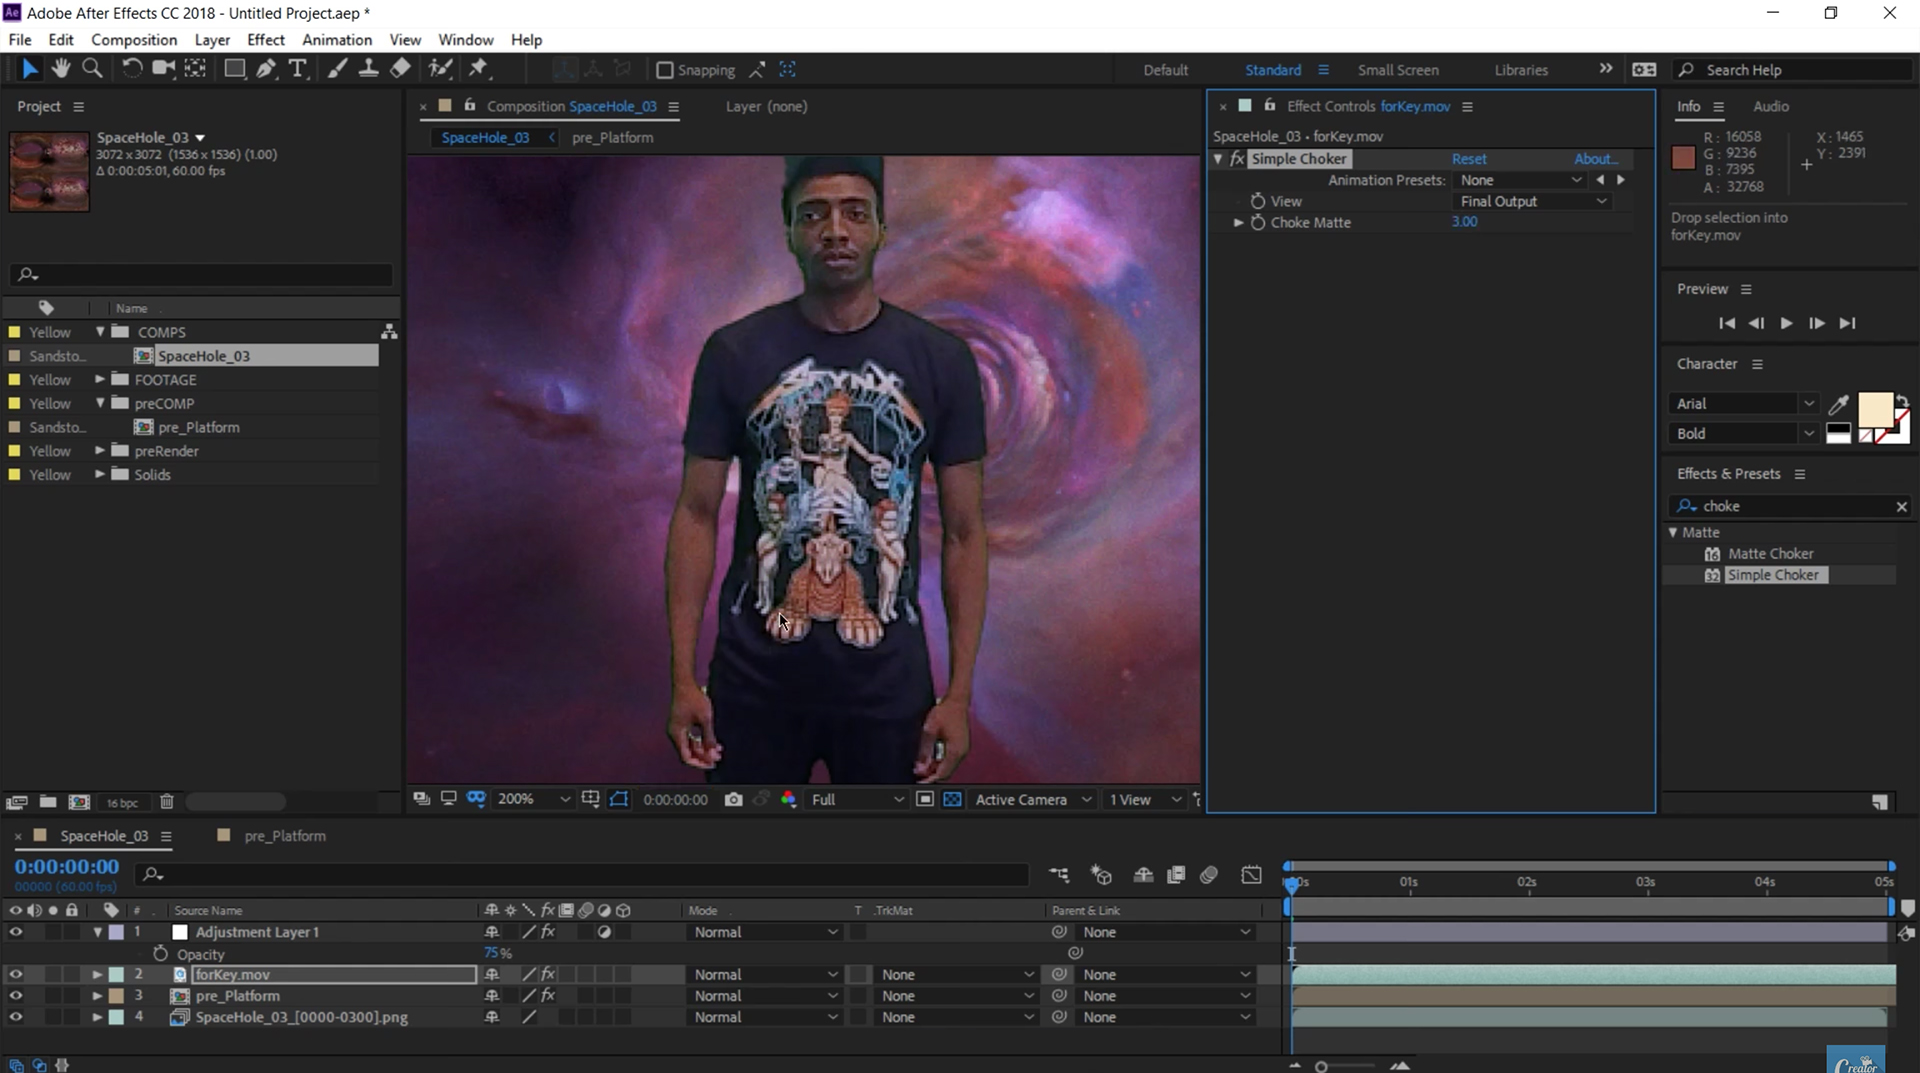
Use a built-in After Effects feature, “Simple Choker”, to eliminate extra edge pixels.

Jonathan Winbush and Hugh Hou.


