
How to Add Mono Footage to Stereo 360° Video | Premiere Pro CC 2018
Charles Yeager (yeagerfilm.com) shows how to combine Stereoscopic and Monoscopic 360° footage in the same video, using the Adobe Immersive Video tools (formerly the Mettle Skybox tools) in Premiere Pro CC 2018.
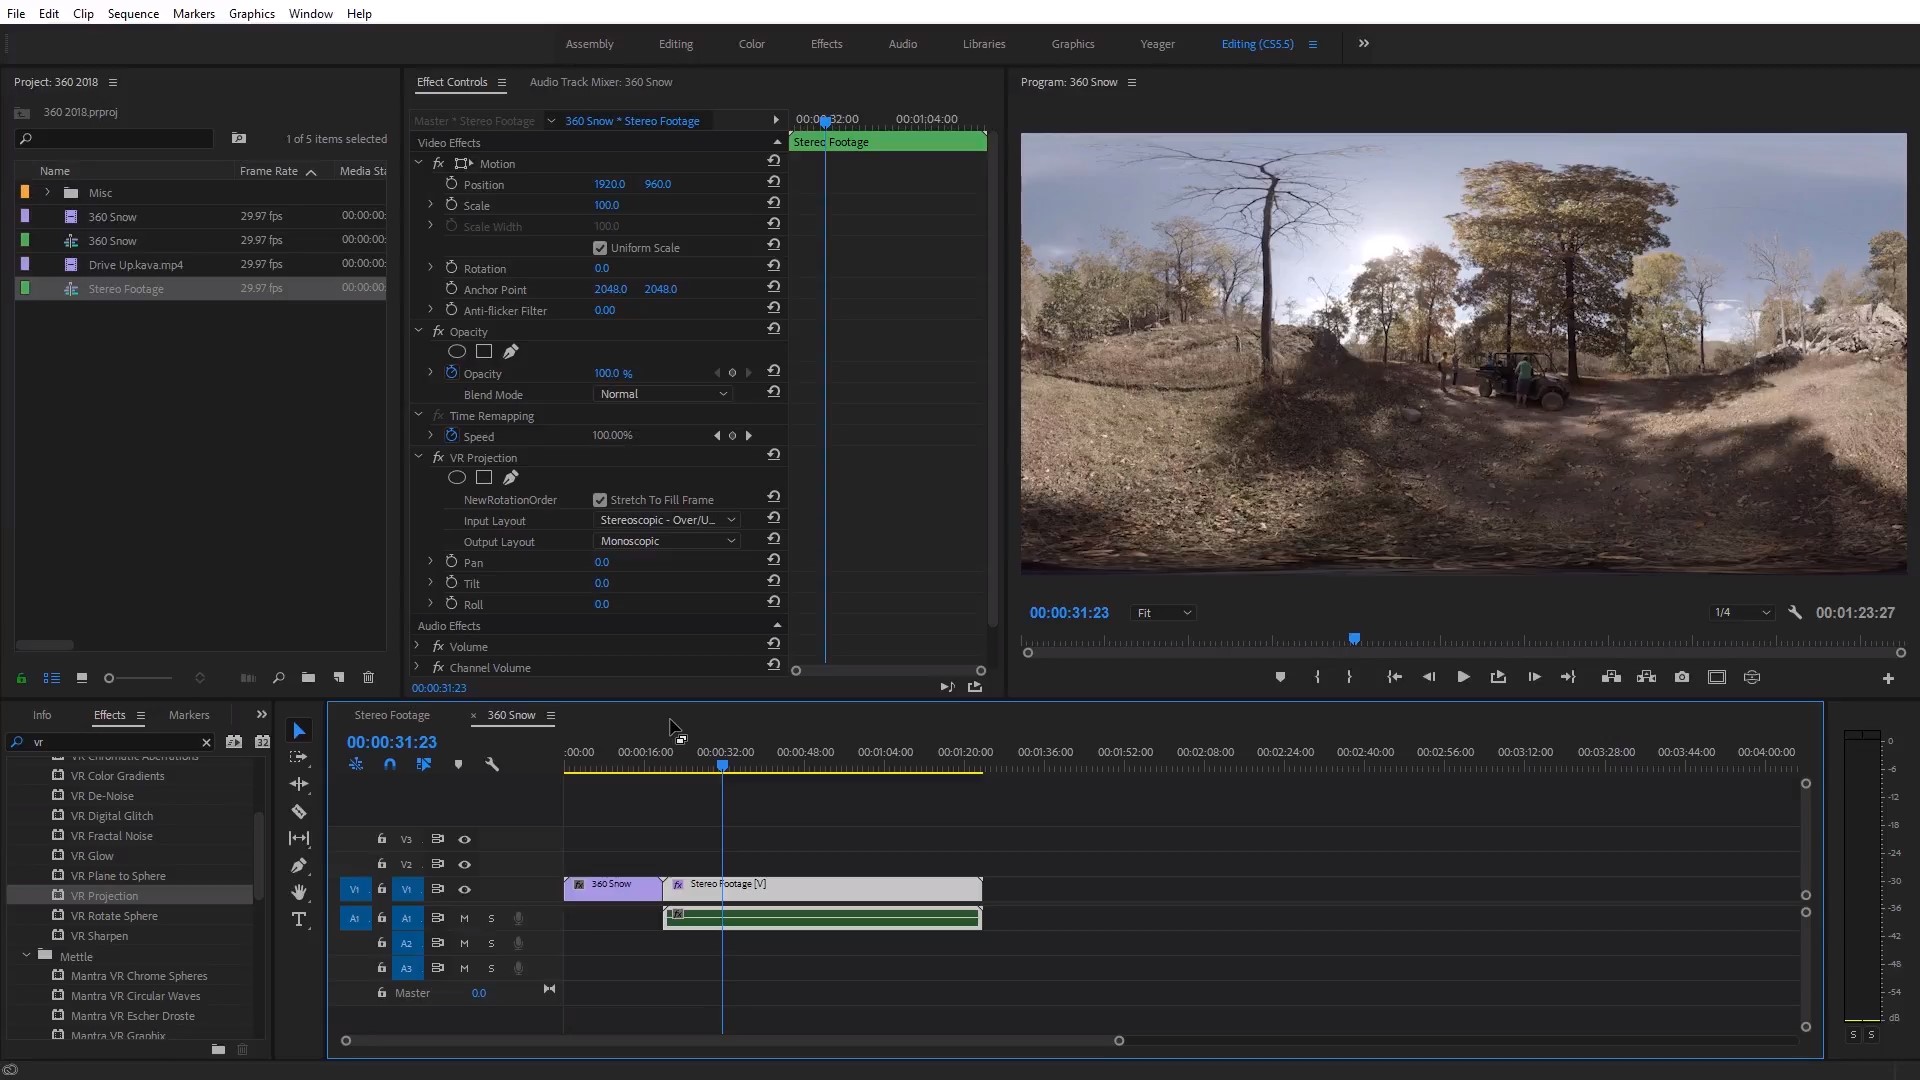
Charles uses VR Projection, from the Immersive Video effects to convert the output layout of his 360° footage into either Monoscopic, Stereoscopic – Over/Under or Stereoscopic – Side by Side. The VR Projection effect can also be used to adjust the size of the footage, thanks to its Fill to frame option.
How to Add Monoscopic Footage to a Stereoscopic 360° Video
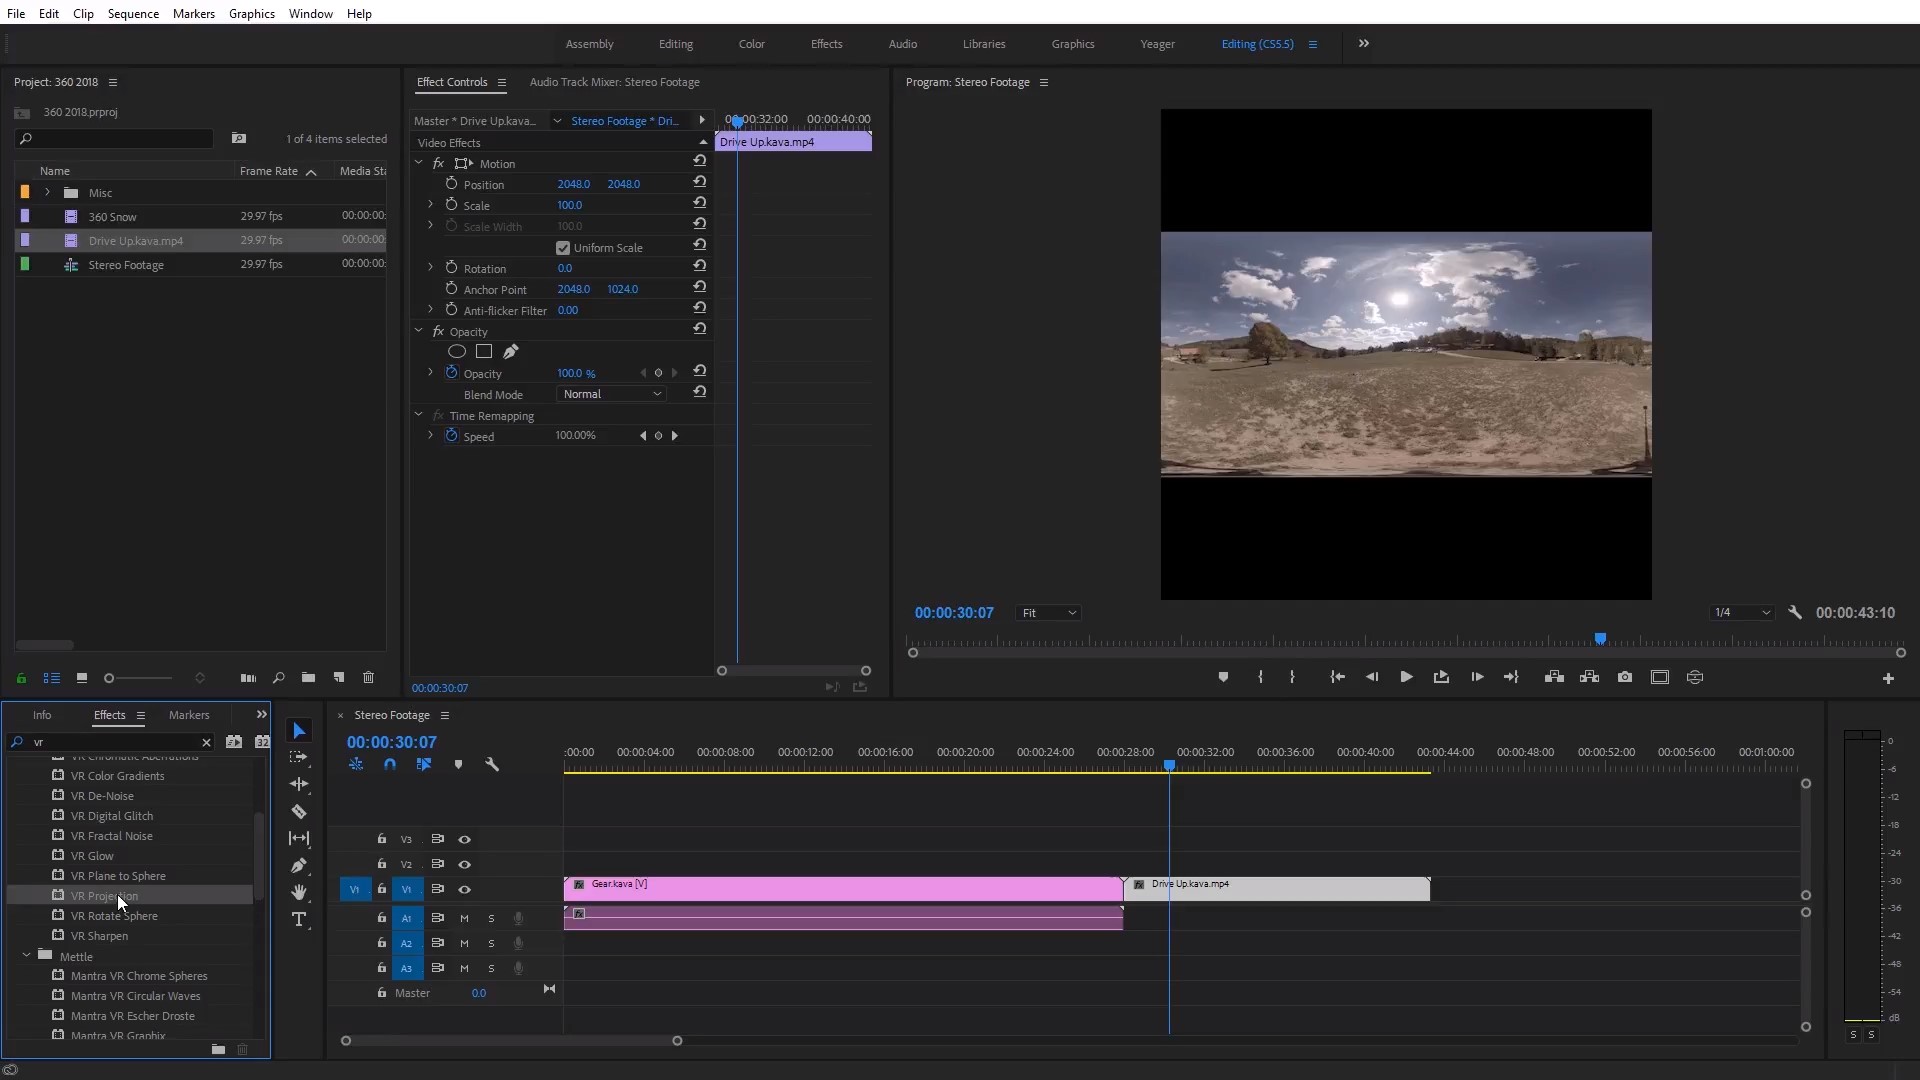
Immersive Video > VR Projection.

Apply VR Projection to Monoscopic footage.

Change Output Layout to: Stereoscopic Over/Under.
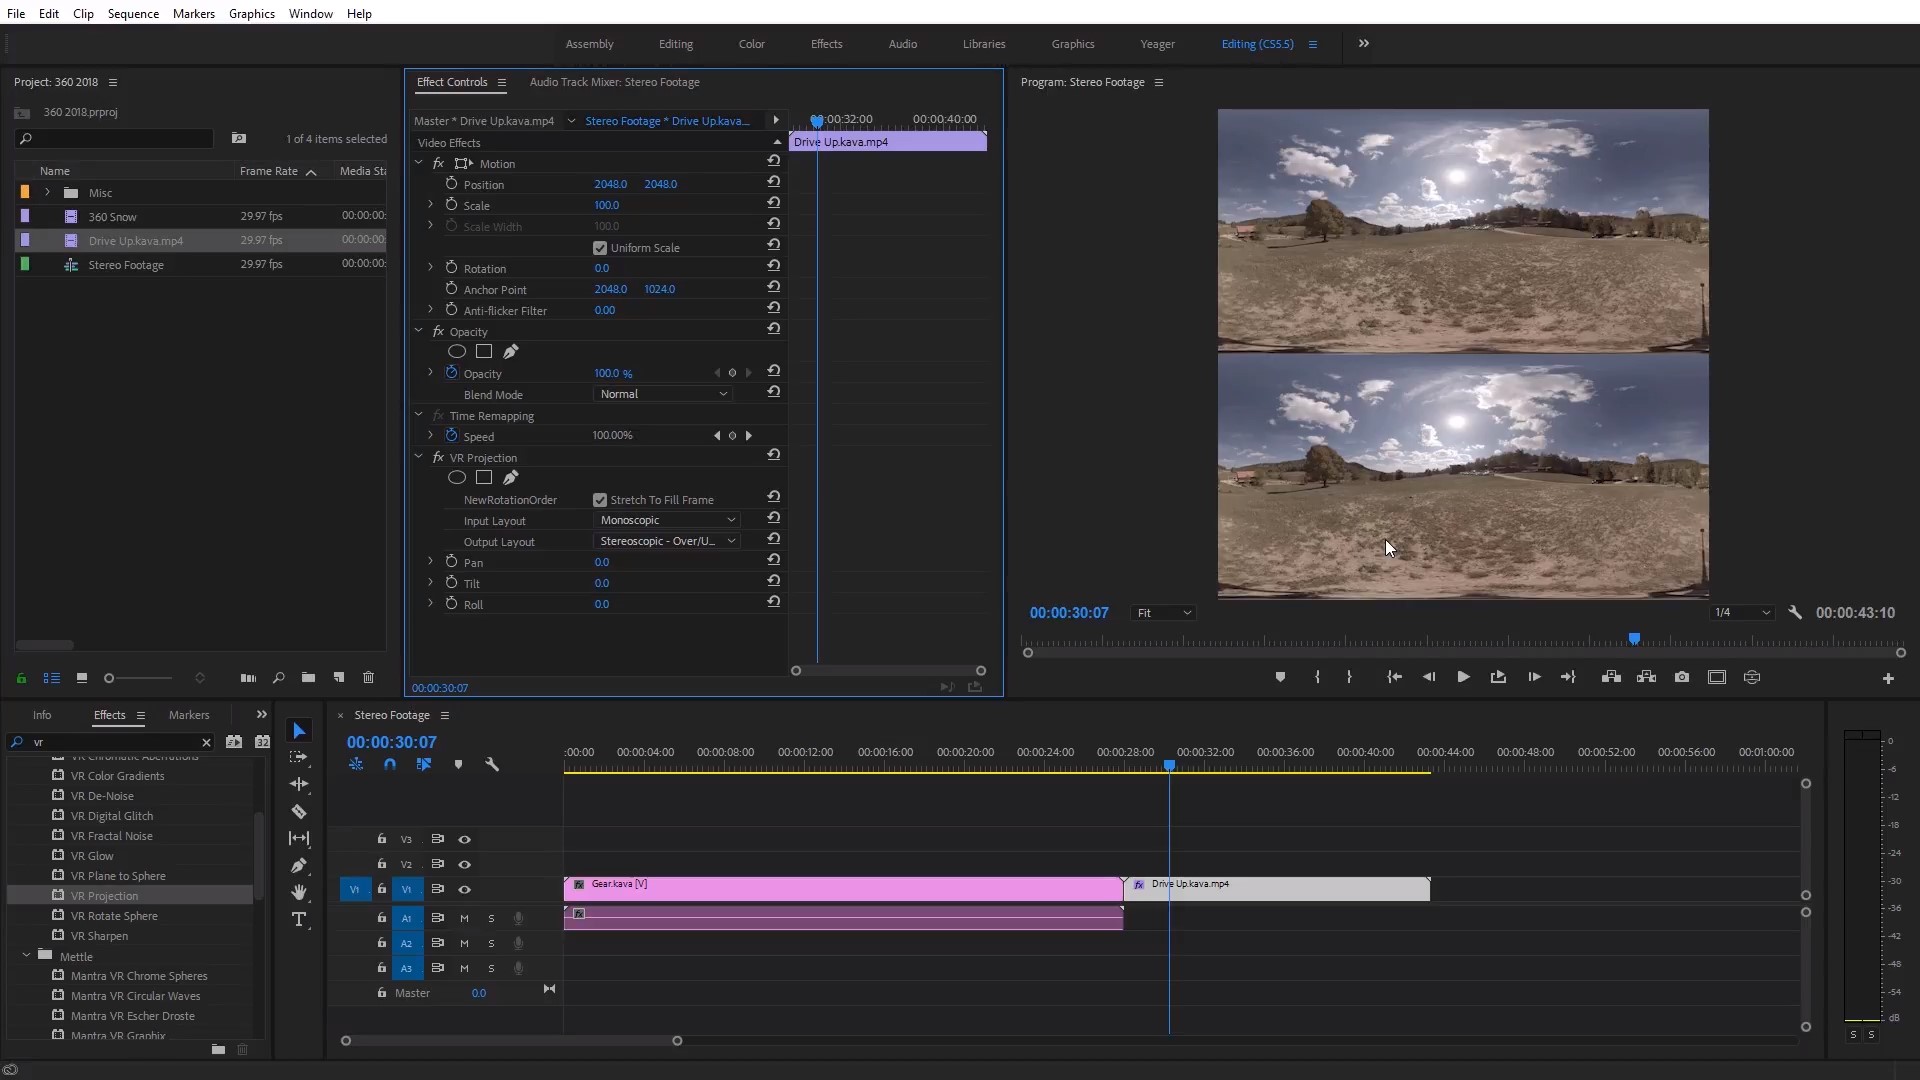
The Mono footage will be converted to Stereo, but will NOT have the depth of conventional stereoscopic footage.
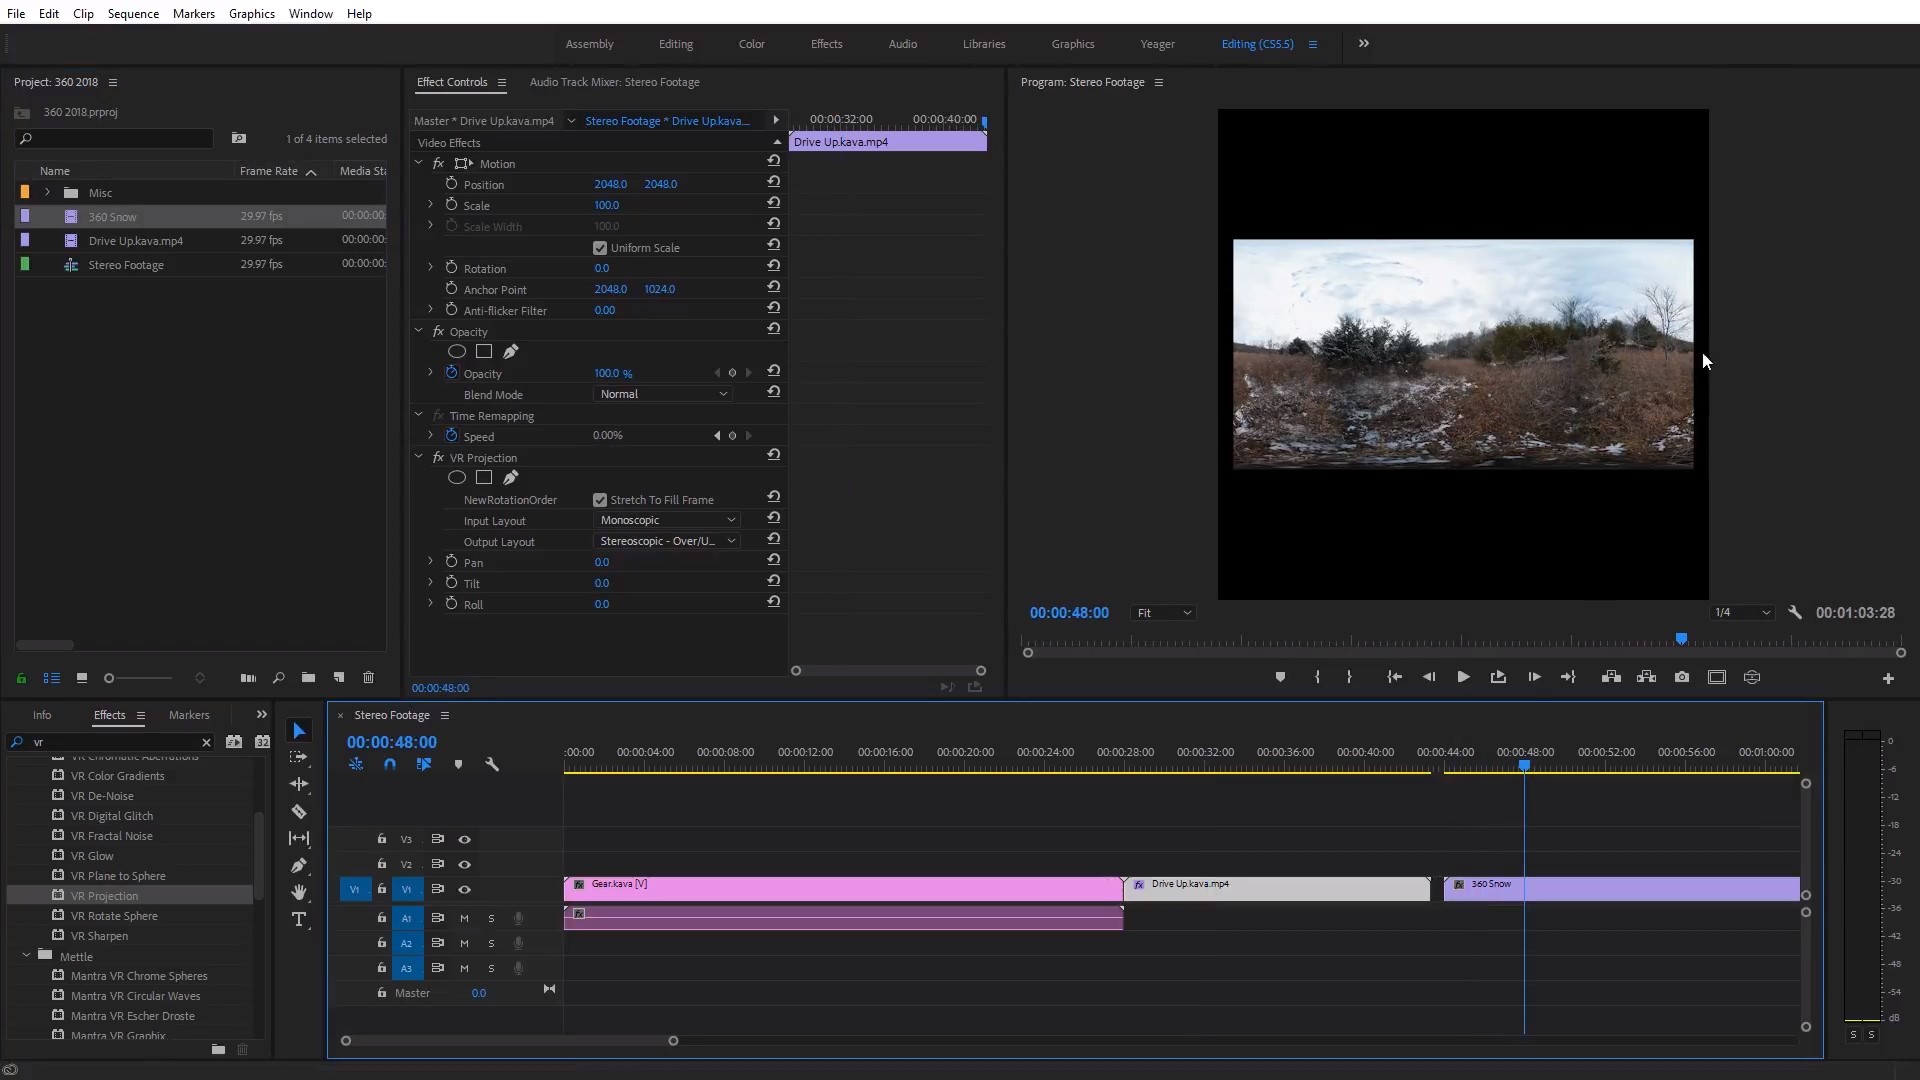
Make sure to Check the “Fill to Frame” box to keep the same video format.

“VR Projection” has Tilt, Pan and Roll options for adjustments.
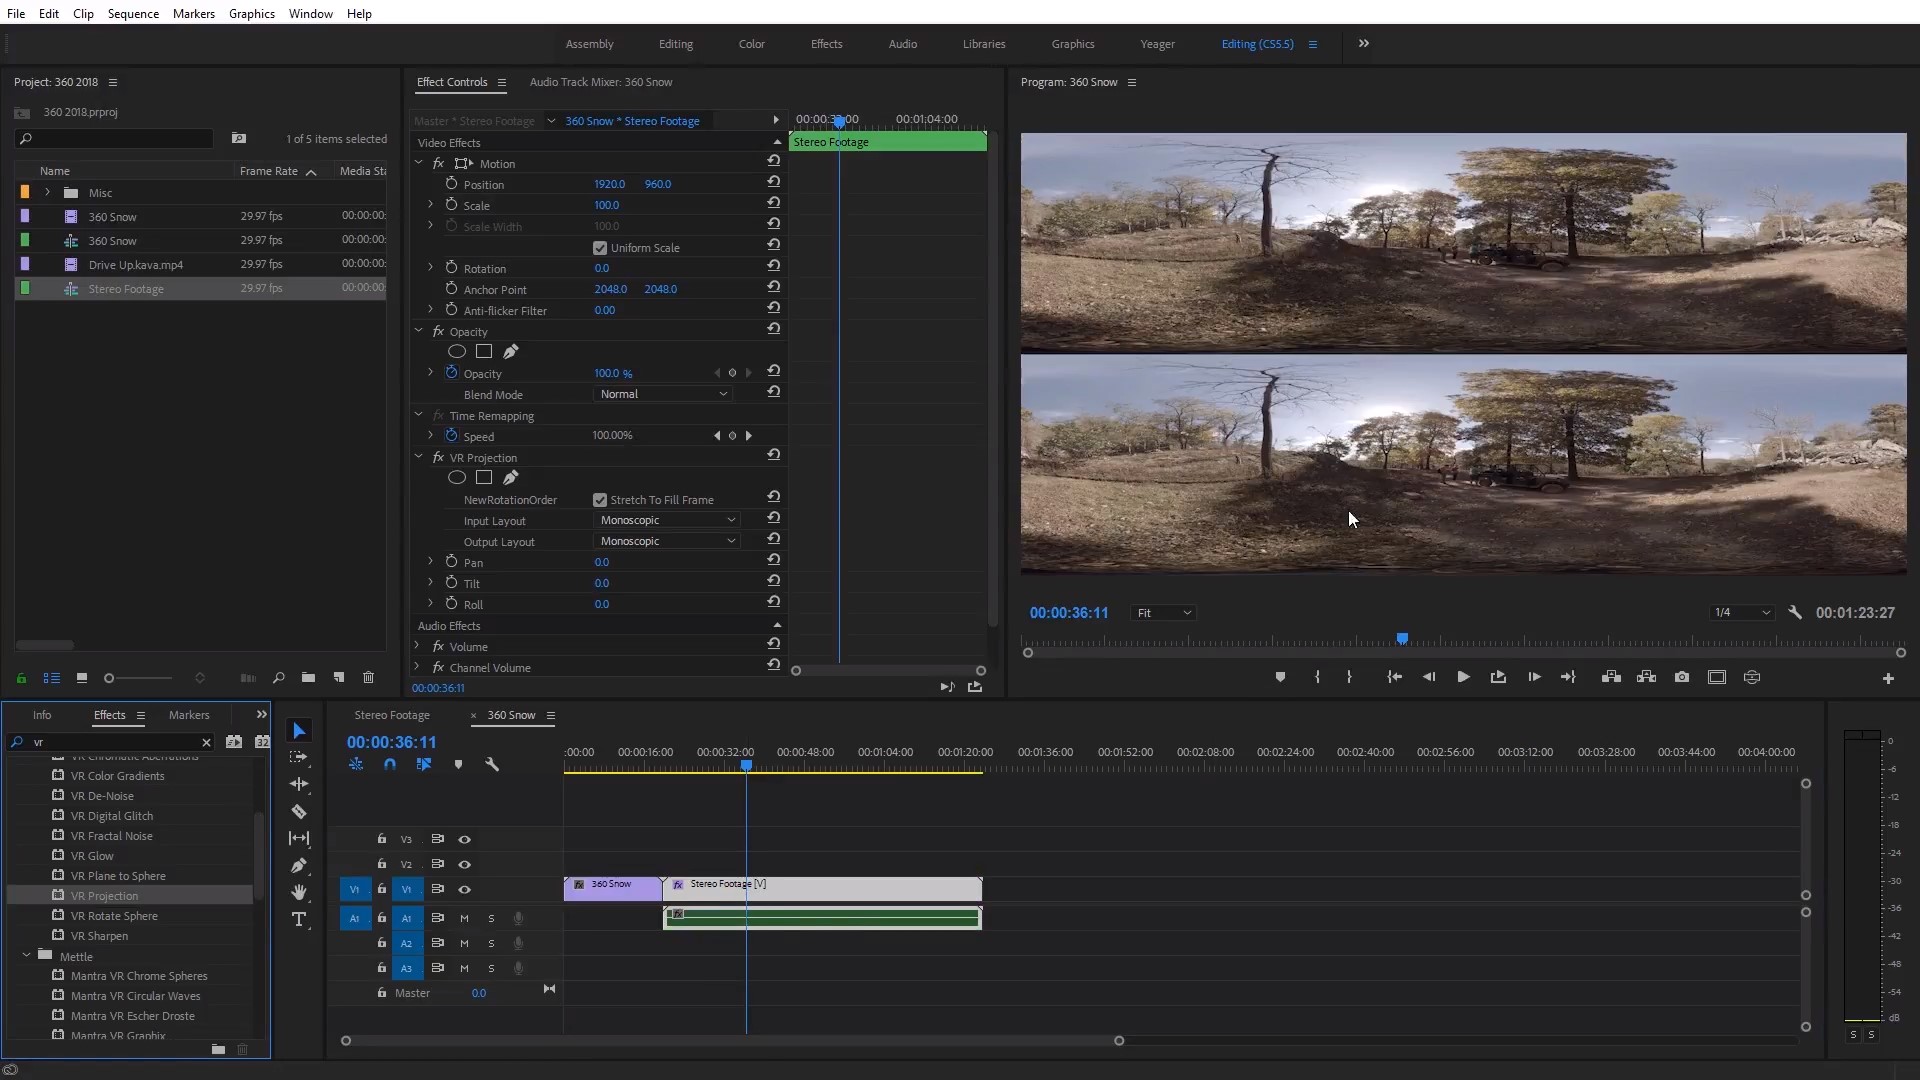
You can also convert Stereo footage to Mono.
Charles Yeager is a Filmmaker & Motion Graphics Artist currently residing in Arkansas. His projects have been recognized by Canon, Video Copilot, Vimeo, Filmmaker IQ, No Film School, Film Convert, BOOM Library & Filminute. See his portfolio at yeagerfilms.com.
Charles is the author of numerous tutorials on 360/VR video production in After Effects and Premier Pro. You can find them on his Youtube channel and in the tutorial sections on the Mettle website.


David
Did this tool ever implement a way to chose which eye becomes the monoscopic image? Or add simple disparity?