Creating 360° VR Video With C4D and After Effects
Curious about how to integrate your C4D 360° animation with After Effects? Sean Bowes posted a workflow solution on his blog. He uses SkyBox Studio to bring 360/VR functionality into Ae. The following is a reprint from his original posting:
360º VR ANIMATION – 6 CAM METHOD
This method produces essentially the same results, but there are some differences in workflow. Lets take a look before we begin.
The Pros
Uses the Render Queue so you get access to Multipass layers, Team Render, and the handy dandy progress bar, etc.
The Cons
Need to stitch the 6 outputs together and warp them into an Equirectangular video so that it looks right when uploaded, which requires a plugin (or some tedious mesh warping? I go for the plugin)
Lets jump right in!
Setting up your Cameras
The 6-Cam method uses 6 standard Cameras pointing in all directions to capture your scene in 360º.
Set up your first camera and label it FRONT. Make its focal length 18mm. Cmd+B to open up render settings real quick and set your output to 1024×1024 (recommended for best final output) or some other 1:1 size.
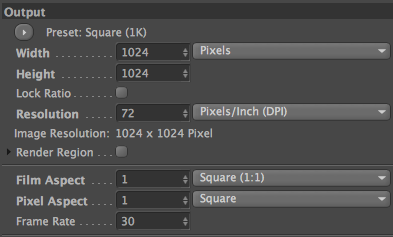
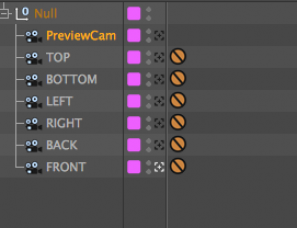
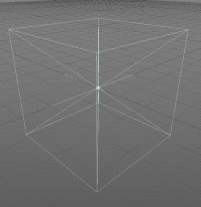
Create a second camera in the exact same spot (copy+paste), turn it 90º to the LEFT and label it LEFT. and so on for RIGHT, BACK, TOP, and BOTTOM. Sweet! You should have a cube of cameras. I recommend attaching these to a null so you can move them around and creating a separate camera for previewing so you don’t fuck them all up.
Render Settings
Next thing to do is set up your Render Settings. Make sure your Output Size is 1024×1024 and set your save location. You will be doing a render for each camera, so I recommend making a folder for your FRONT image sequence, and another for LEFT, RIGHT, and so on. You can set up your multipasses and whatever else you need to.
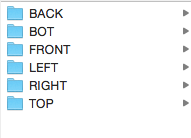
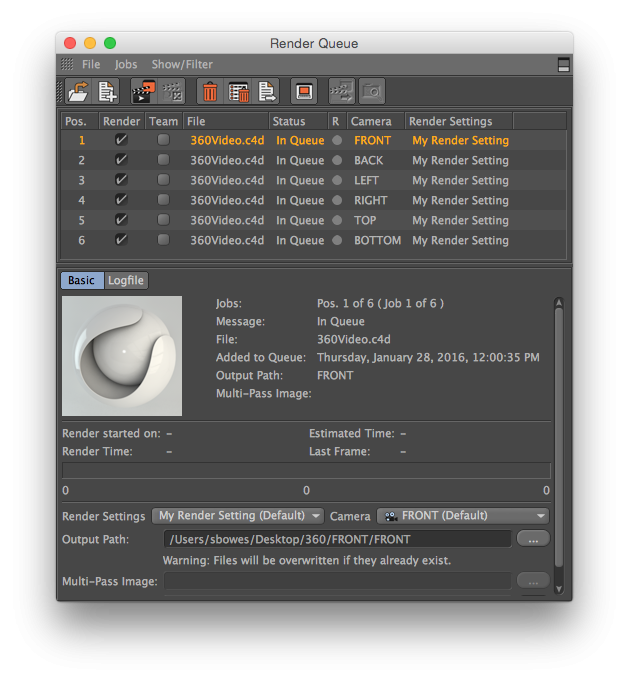
Now when you are ready to render, pop it in the Render Queue with the camera set to FRONT. Duplicate this render 5x in the queue. Match up the Cameras and Save Paths with their respective renders and press go! Then go do something because this might take a while! But you’re used to this by now.
Stitching
I use Mettle Skybox ($99) for this and it works great. Skybox will do what I describe here, but if you want some advanced tools for compositing and previewing check out the Studio version. Chris from the Mettle team is a super nice guy and helped me out a ton with understanding how the workflow works. No he is not paying me, it just feels even better to give my money to good people who are passionate about what they do and excited to share the knowledge.
Anyway, Pop your footage into AE. We are going to make a cube map, with LEFT, FRONT, RIGHT, and BACK lined up horizontally across the comp. TOP and BOTTOM go above and below FRONT.
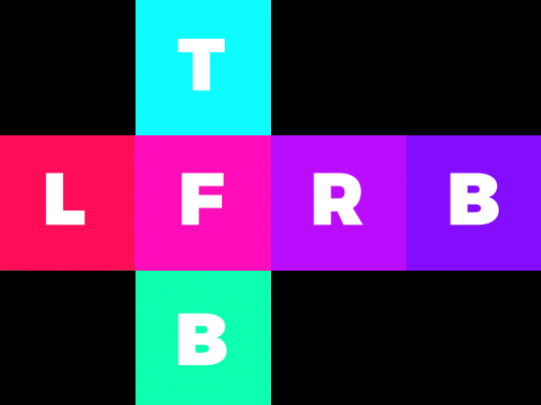
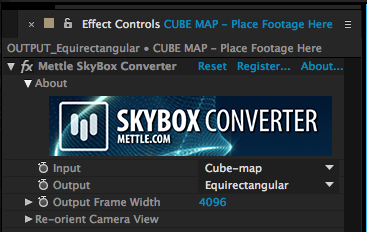
Take this comp and put it into a new comp. Throw the Skybox Converter effect on it, and convert from Cube Map to Equirectangular.
BAM! Look at that wavy weird goodness!

Render that shit out of AE! You’ll need an MP4 version, so I recommend using Adobe Media Encoder’s H.264 preset. Next you need to prep the file for upload.
I’ve got an AE template (FOR FREE) here. [SKYBOX LICENSE REQUIRED] Option+Drag’n’Drop to replace each solid with its respective footage and zim-zala-bim! magic makes it look right in the output comp!
Metadata
YouTube is working on just being able to know that these bizarro looking videos are 360º VR vids, but at the moment its not built in. They released a tool here that adds a line of metadata to your video file that tells YouTube that it is made with a spherical camera. Scroll down to ‘Prepare for Upload’ and choose Mac or Windows version.
Toss your mp4 in the app, press Inject, and voila! The metadata has been added.
Upload
Upload that sucker to YouTube and tell your Mom to check out the cool thing you did!
Mettle Skybox Suite has joined Adobe.
Mettle Skybox Suite of plugins will be exclusively available as part of your Creative Cloud membership through deep, native integration with Premiere Pro CC and After Effects CC. Adobe Creative Cloud will offer an end to end experience for crafting rich and compelling VR/360 experiences.
Learn more – Adobe and Mettle VR: 360 degrees better


Première newsletter sur la création VR|Frédéric Pierron
[…] Just in case you’ve missed this interesting post about the use of Cinema4D to create cube map for Mettle Skybox plugin. See the tutorial here. […]