To view videos full screen: Vimeo tutorials – click on “Vimeo” at bottom right of video. YouTube videos – click on square icon on bottom right of video.
Quick Tip: After Effects Light and Camera
A short tutorial that shows step-by-step how to set up the Light and Camera in After Effects. You’ll see how these AE features work with mettle plug-ins.
Overview to Series – Character Animation in After Effects
Nancy gives us a sneak peek and introduces this excellent tutorial series by David Legion.
Part 1: Character Animation in After Effects
Create a 3D Puppet Head. Dave Legion shows how to create a displacement map, which will be used with the FreeForm plug-in. Once applied, this creates a 3D face in Ae.
Part 2: Character Animation in After Effects
Create A Facial Rig. Dave Legion shows us how to set up a rig to control your puppet’s face. He walks you through the whole set up including how to use Nulls and the Puppet Tool.
Part 3: Character Animation in After Effects
Rigging The Face. Dave Legion shows how to set up custom sliders to control your puppet’s facial expressions. The slider controls help to streamline facial animation in After Effects.
Part 4: Character Animation in After Effects
Automating Lip Sync. Dave Legion shows us how to set up the lip syncing for your puppet using mamoworld’s Auto Lip-Sync.
Part 5 – Character Animation in After Effects
Create a Working Jaw Using AE 3D Layers. Dave Legion shows us how to use 3D layers and layer masks to create a jaw and hair band for the puppet head.
Part 6: Character Animation in After Effects
Create a Swinging Head of Hair. Dave uses 3D layers and some clever expressions to create a swinging head of hair for the puppet head.
Part 7: Character Animation in After Effects
Create Simple Controllers for the Head and Eyes. Dave shows how to create a controller for the whole of the puppet head.
Part 8: Character Animation in After Effects
Switch Out Existing Voice Over With Auto Lip Sync. Dave will show you how to switch out the voice over with other audio tracks or even other languages using Mamoworld’s Auto Lip Sync.
Create a Billowing Flag: Part 1
This series of tuts shows how to create a billowing flag. Explains the Mesh feature, which has control points that can be clicked and moved, like in PhotoShop or Illustrator.
Create a Billowing Flag: Part 2
Part 2 shows how to manipulate points on the mesh to make the flag look like its moving in the wind. You’ll add a light and default camera to the composition, to add a nice gradation to the flag.
Create a Billowing Flag: Part 3
Part 3 shows how to create a greyscale image for a displacement map in PhotoShop. Also explains grid control colors, which can be modified, and how to hide the grid. Explains what is a displacement map.
Create a Billowing Flag: Part 4
Part 4: Now for the magic. The billowing effect of the flag is explained. We see how the displacement map is applied to the flag.

3D Paper Crumple
Rob Birnholz posted this great paper crumple tut on aetuts+. Rob uses the example of creating a paper crumple transition. A very practical and powerful use of the plugin.
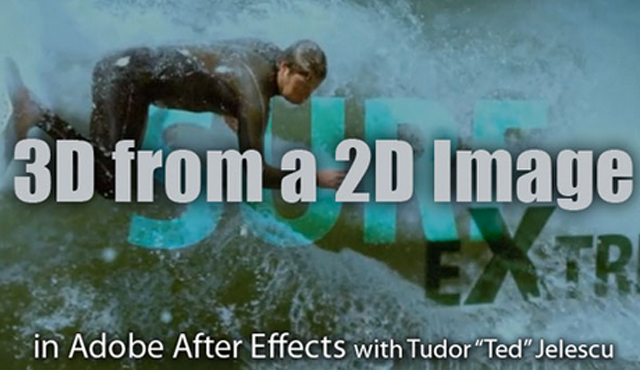
3D from a 2D Image
Tudor “Ted” Jelescu shows how to create 3D / 2.5D movement from a 2D image. He uses similar techniques as Mathew Fuller’s “Advanced 2.5D Animation in AE” tutorial.
Building a Simple 3D Head
Dan Gies demonstrates techniques used to build and rig a 3D head using the FreeForm plugin (CS5). He reviews setting up expression controls to drive nested compositions like eye blinks and head rotations.
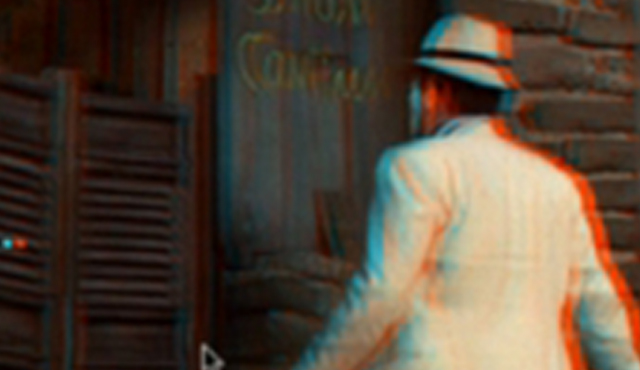
2D to 3D Stereo Conversion: Mocha Pro + FreeForm
Martin Brennand (Imagineer Systems) shows how to convert 2D film to stereoscopic 3D. Mocha Pro is used for the roto and clean plating, Freeform Pro is used for the extrusion. This technique works with FreeForm/FreeForm Pro.

Money Makes the World Go Round
Ran Ben Avraham shows a cool way to create a financial show opening sequence. He uses FreeForm, Trapcode Particular, and Depth of Field using a custom build depth map and the Lens Blur plug-in.