Tutorial: True Detective Look | FreeForm Pro
Charles Yeager (yeagerfilm.com) shows how to create double exposure displacement mapping effects with FreeForm Pro, as seen in True Detective Main Title sequence Seasons One and Three. Learn how to create different looks, based on clever techniques and features in FreeForm Pro.
We’ve had many requests for this tutorial. Thanks for your support, and enjoy!
Download a free demo of the plugin and follow along. Free project file below.
Tutorial: True Detective Look | FreeForm Pro
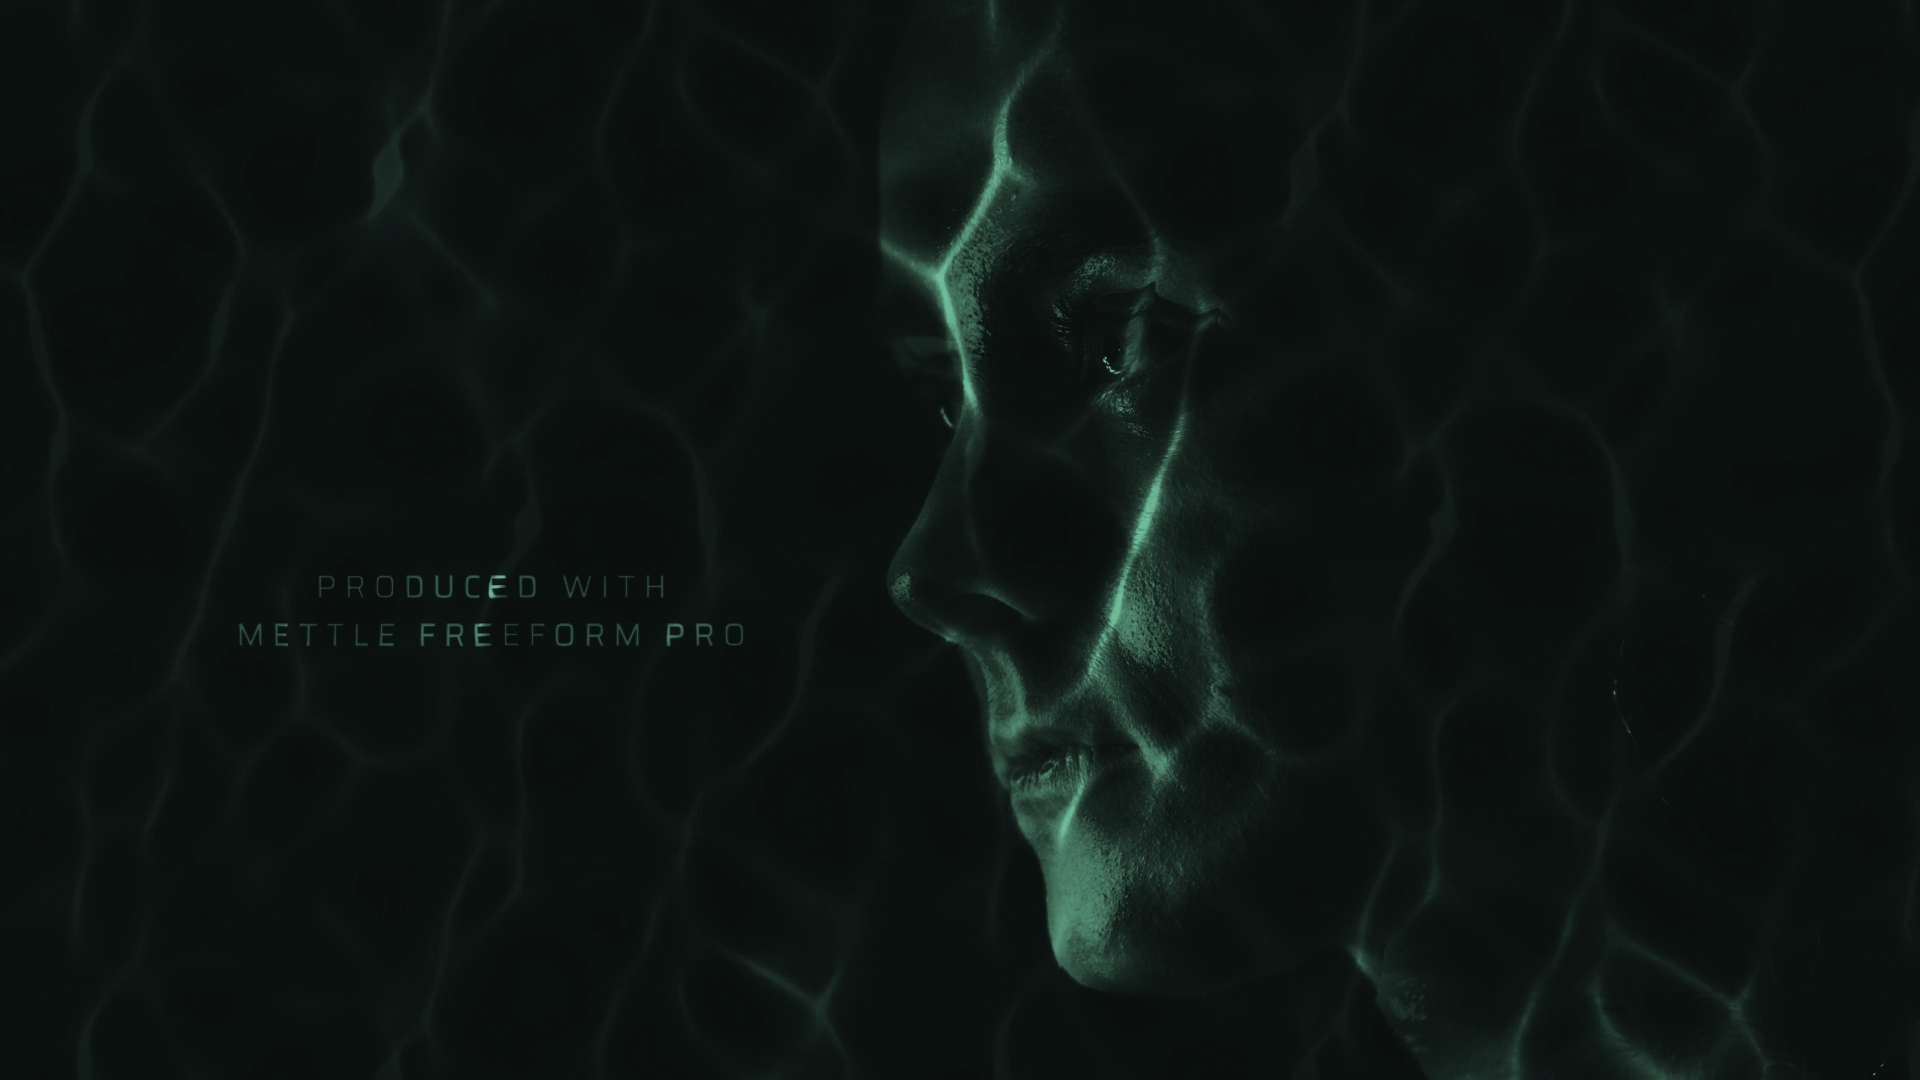
Rendered Sample.
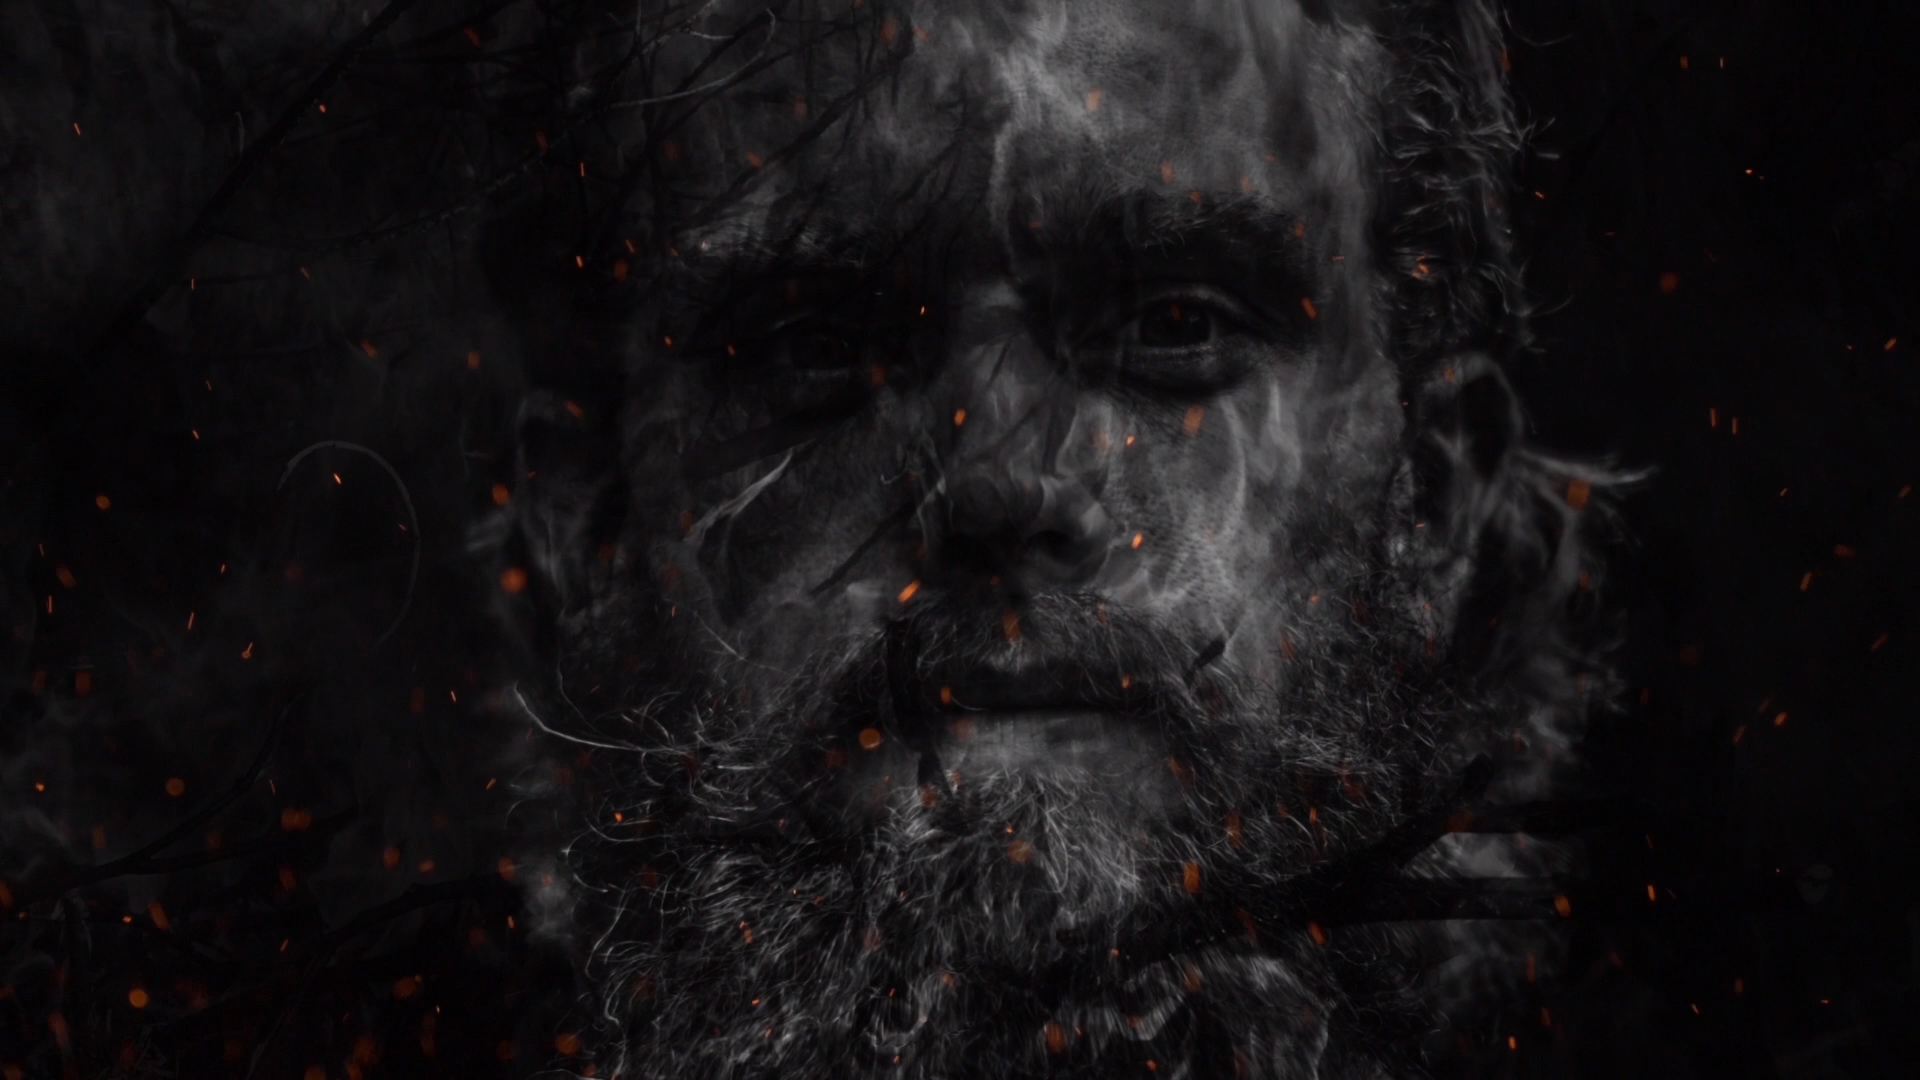
Completed sample image.
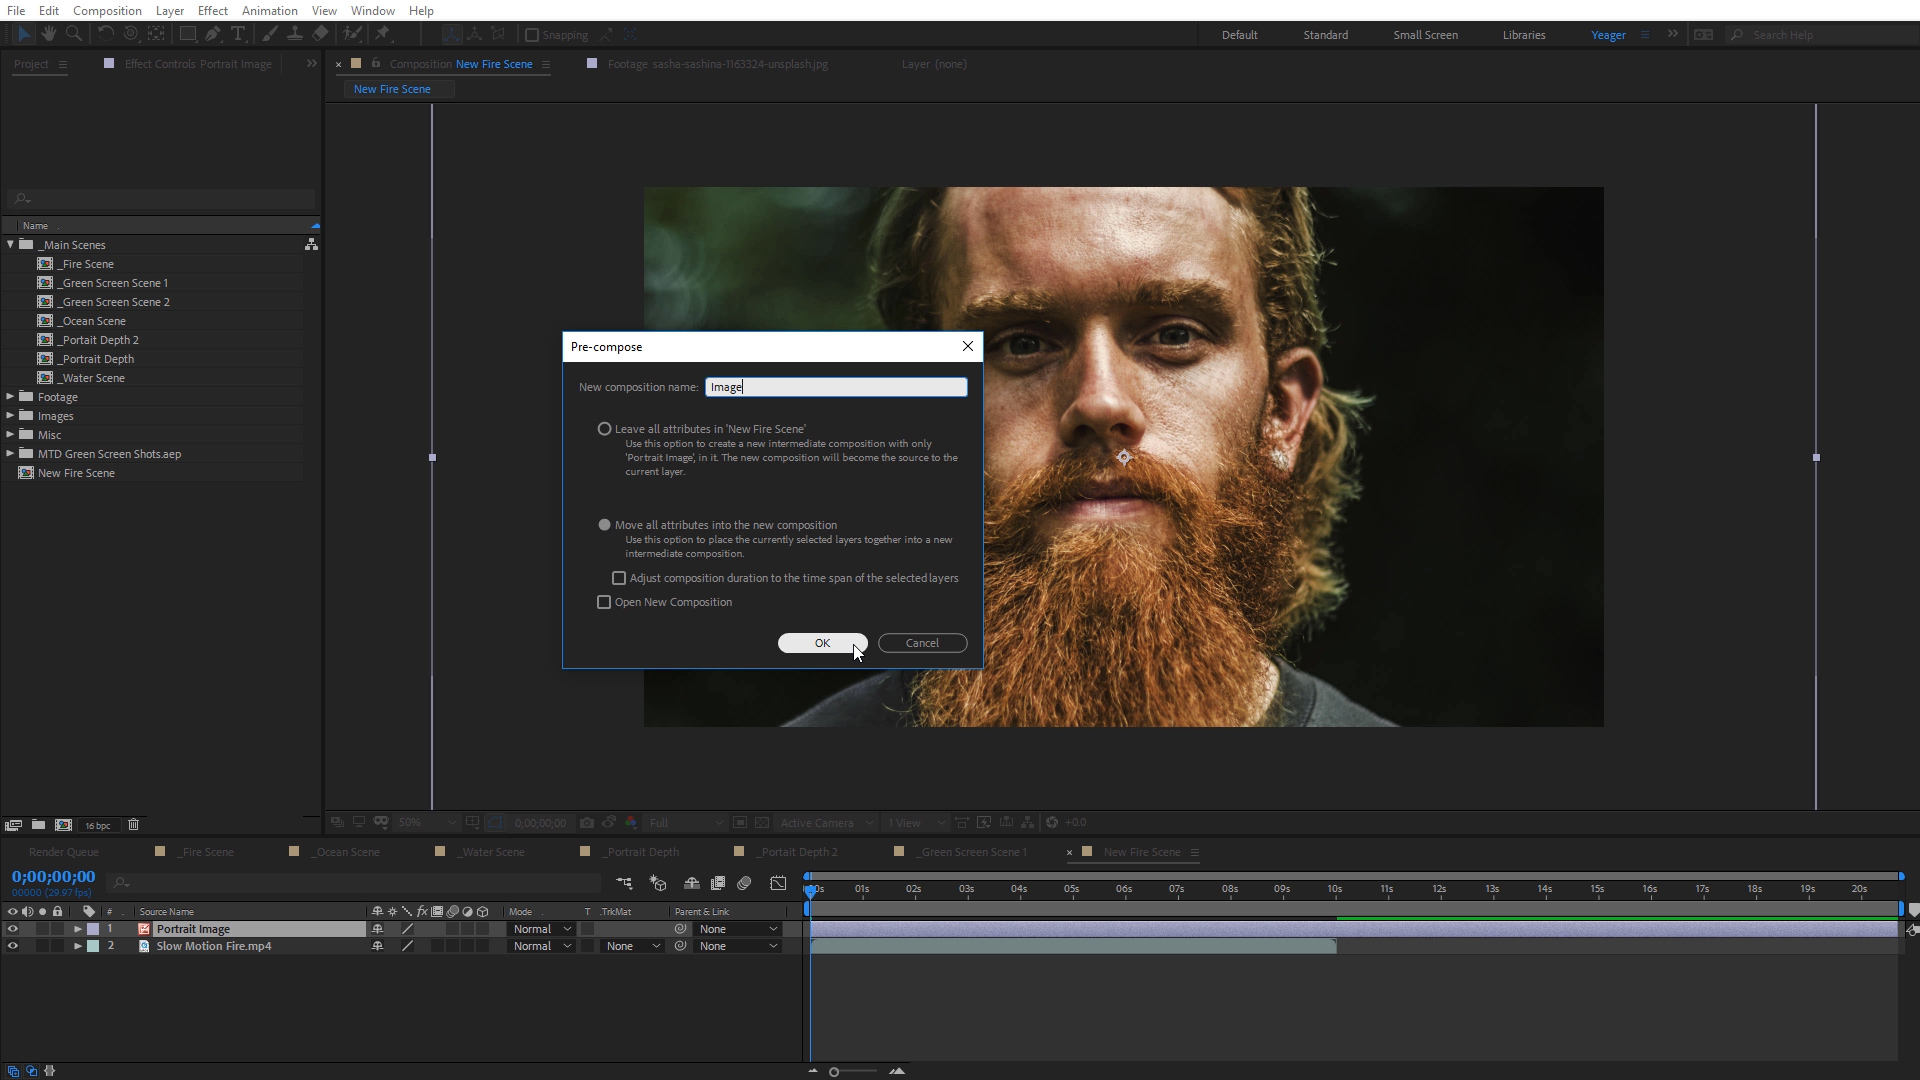
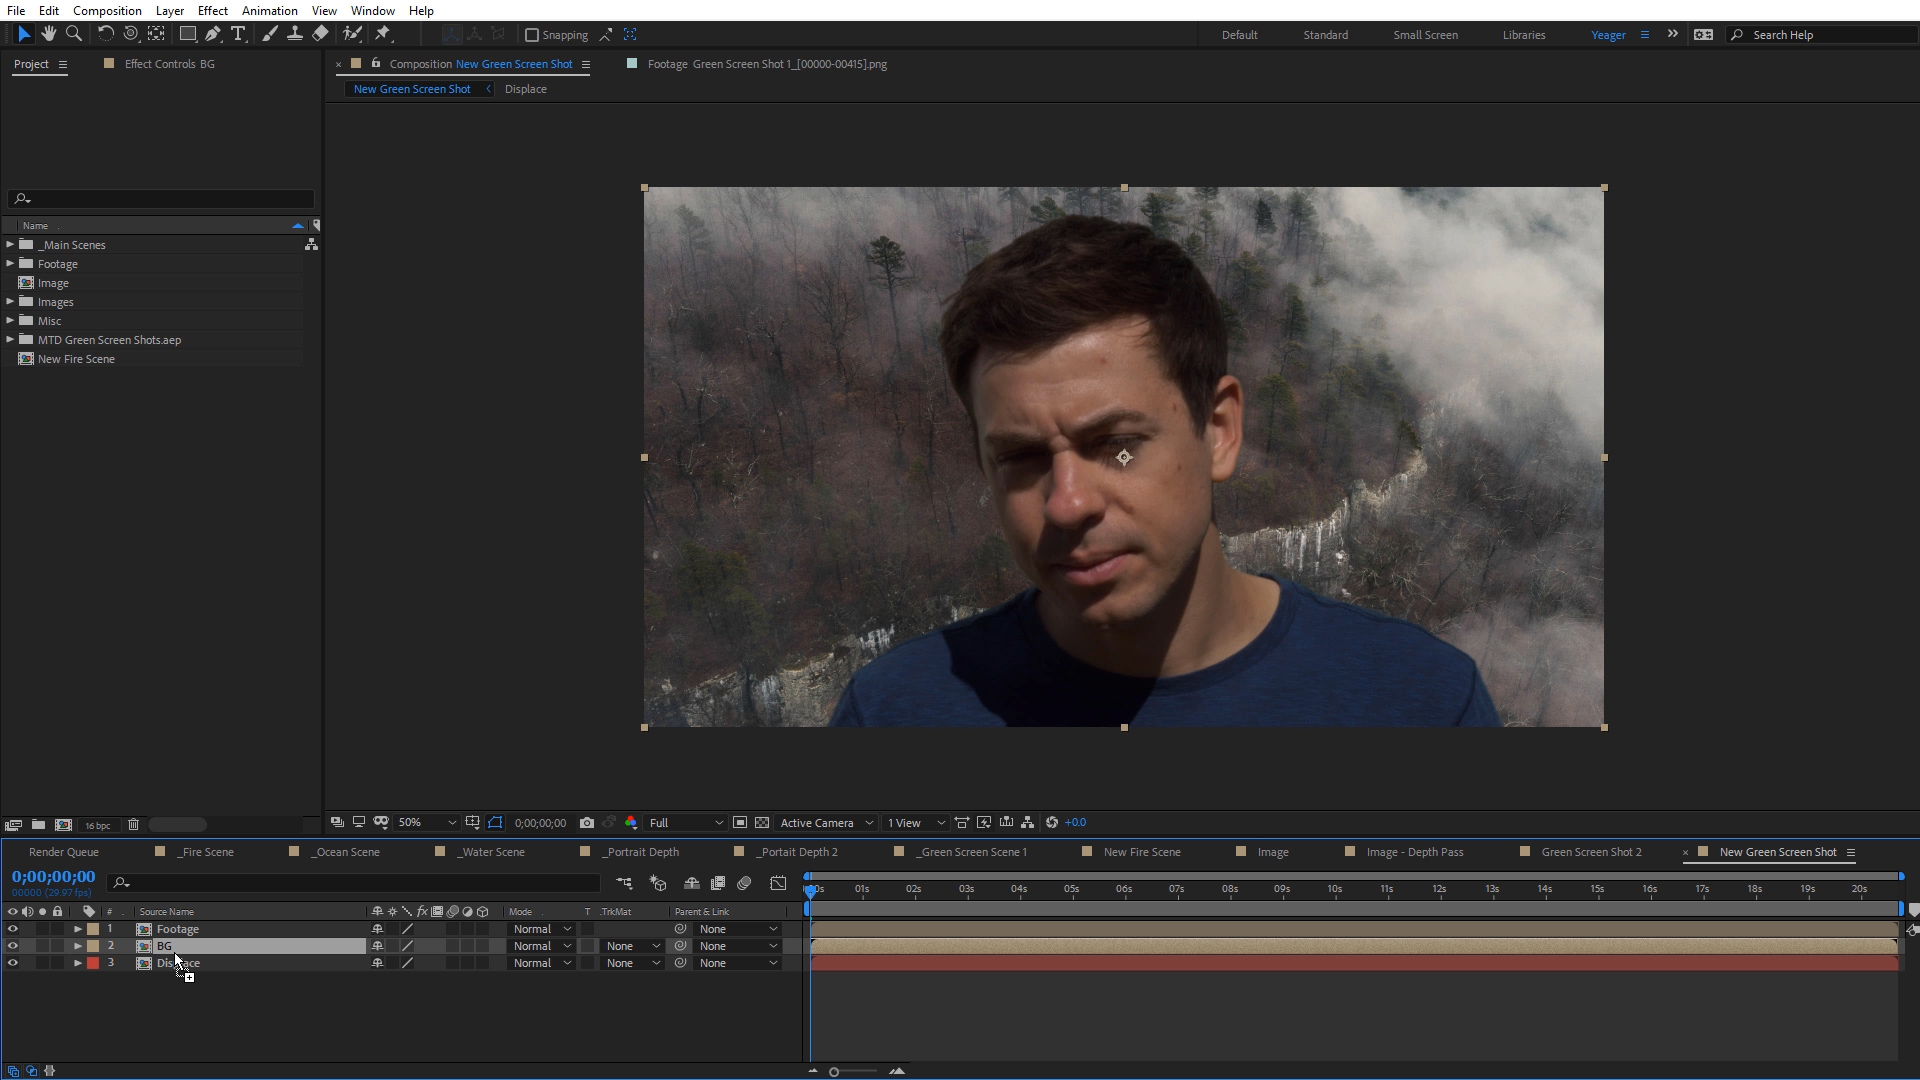
Precompose image to be same size as Footage.

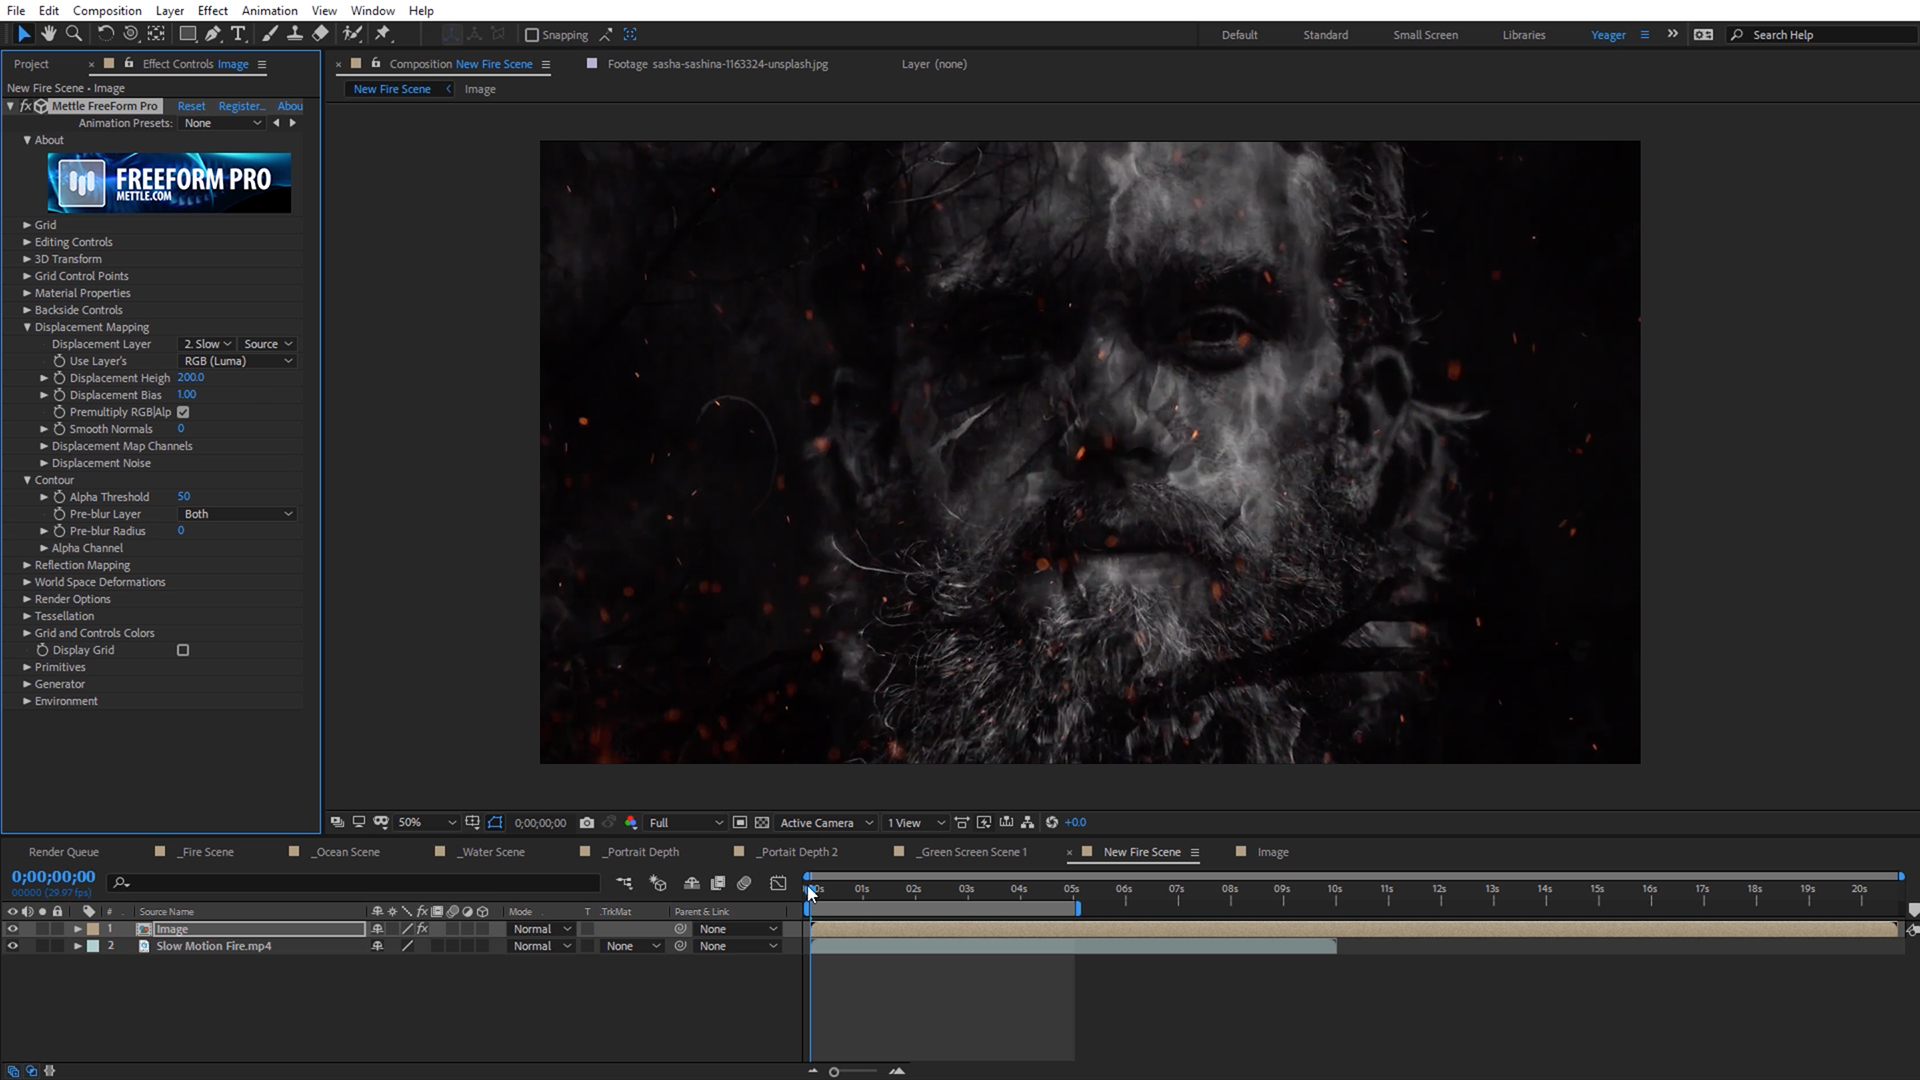
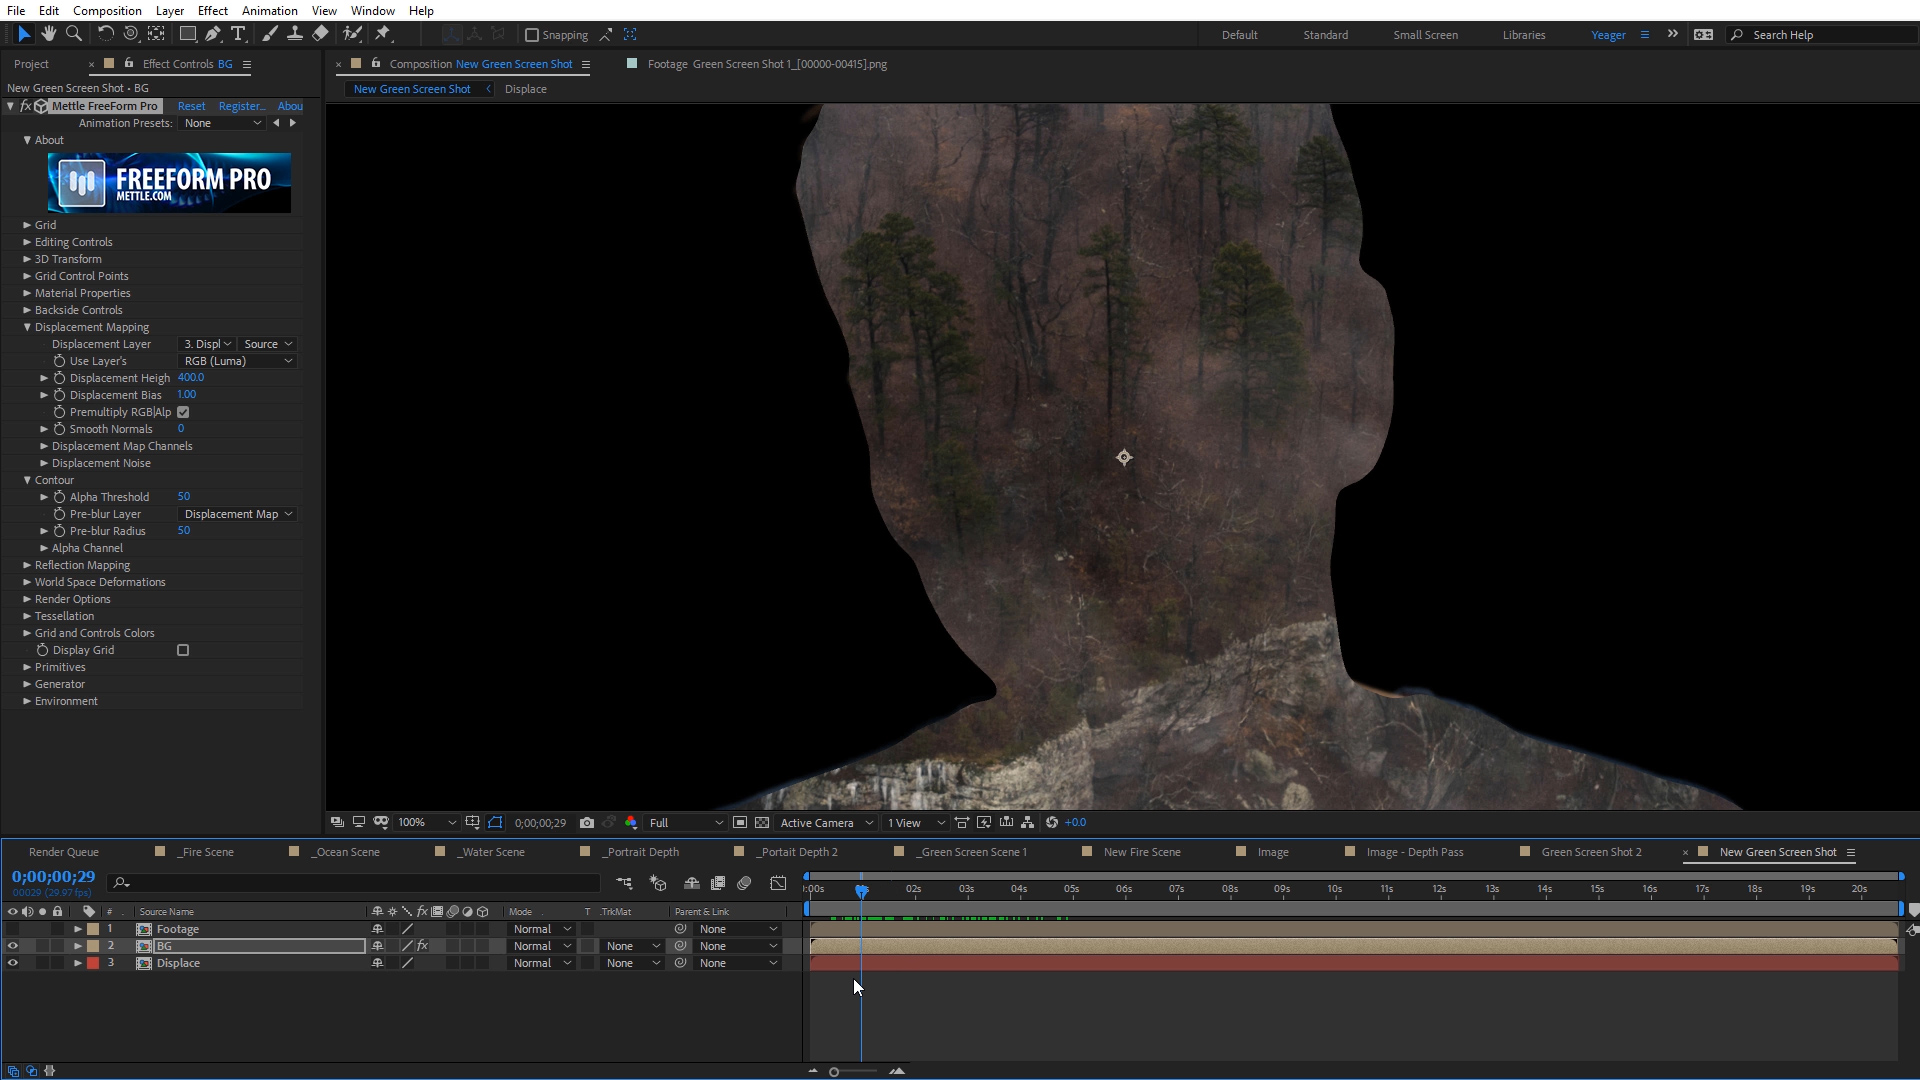
Apply Mettle FreeForm Pro.
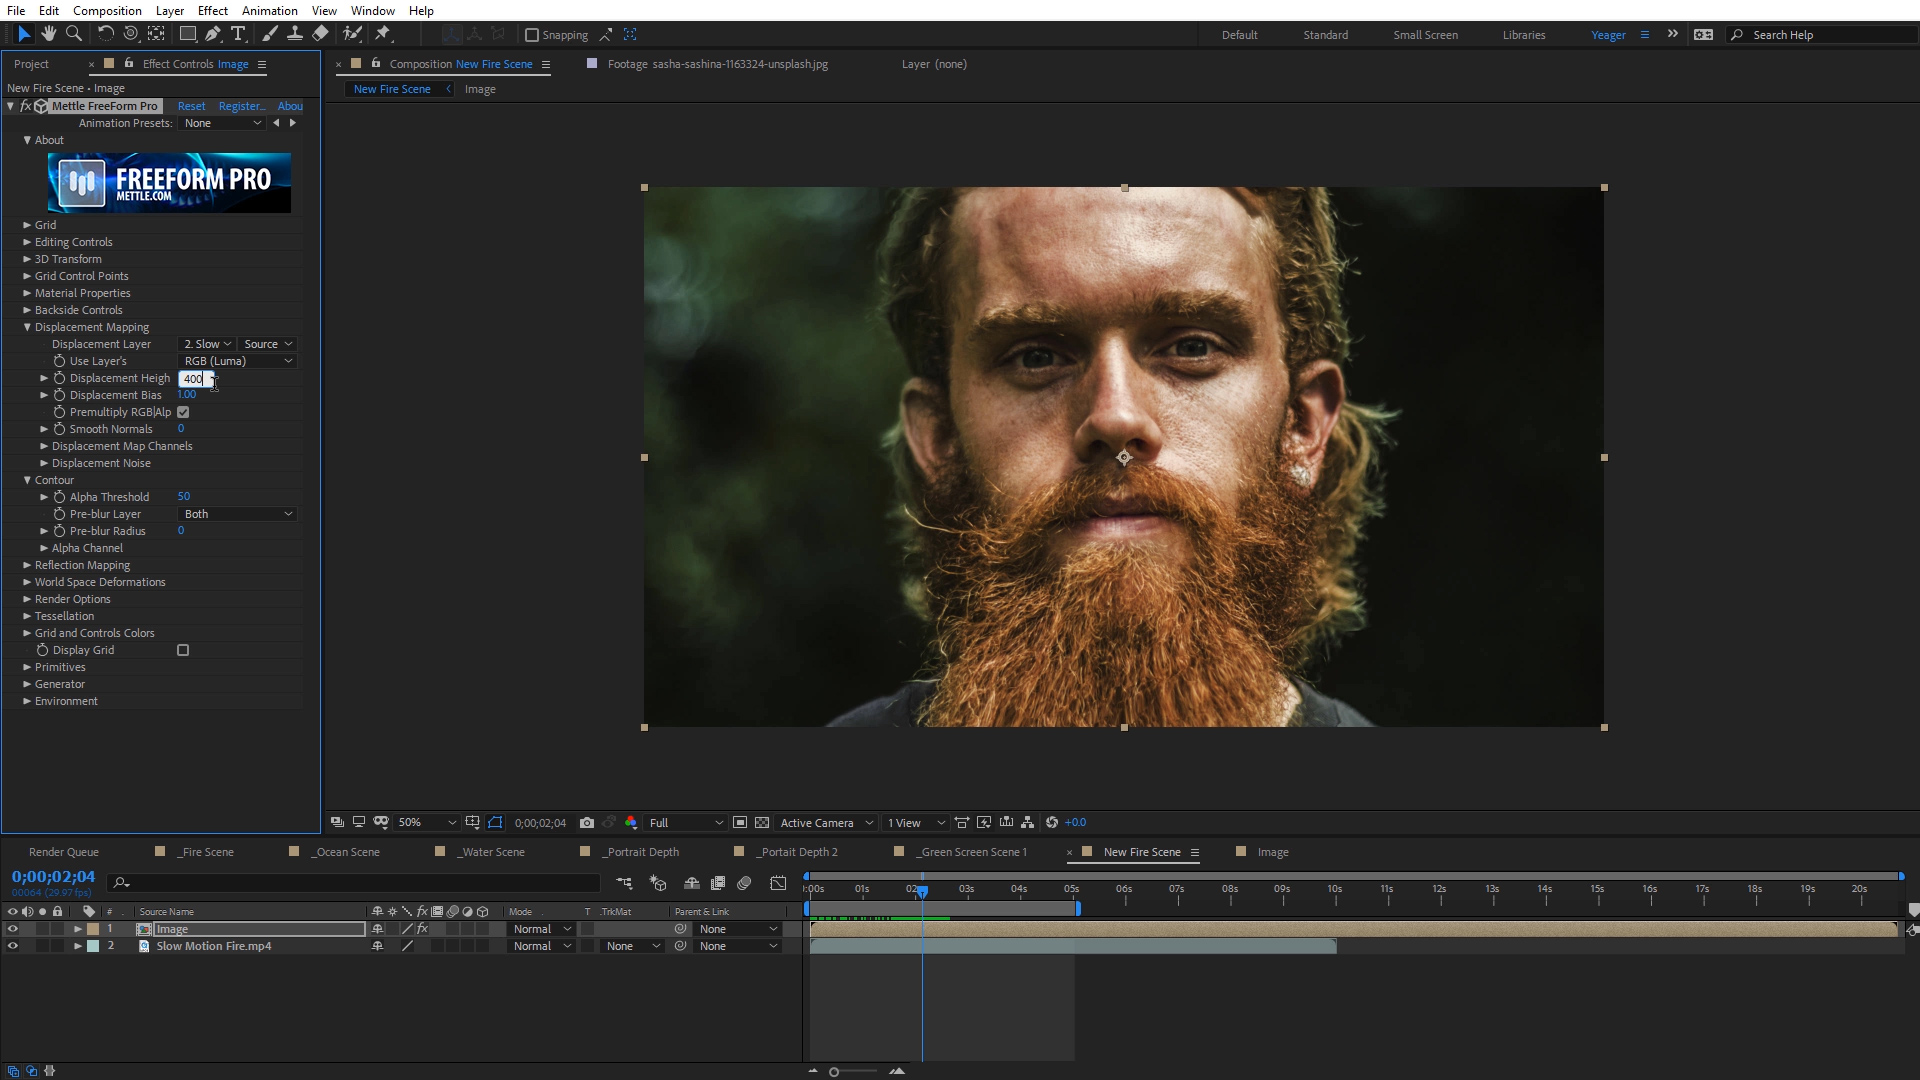
Adjust Displacement.
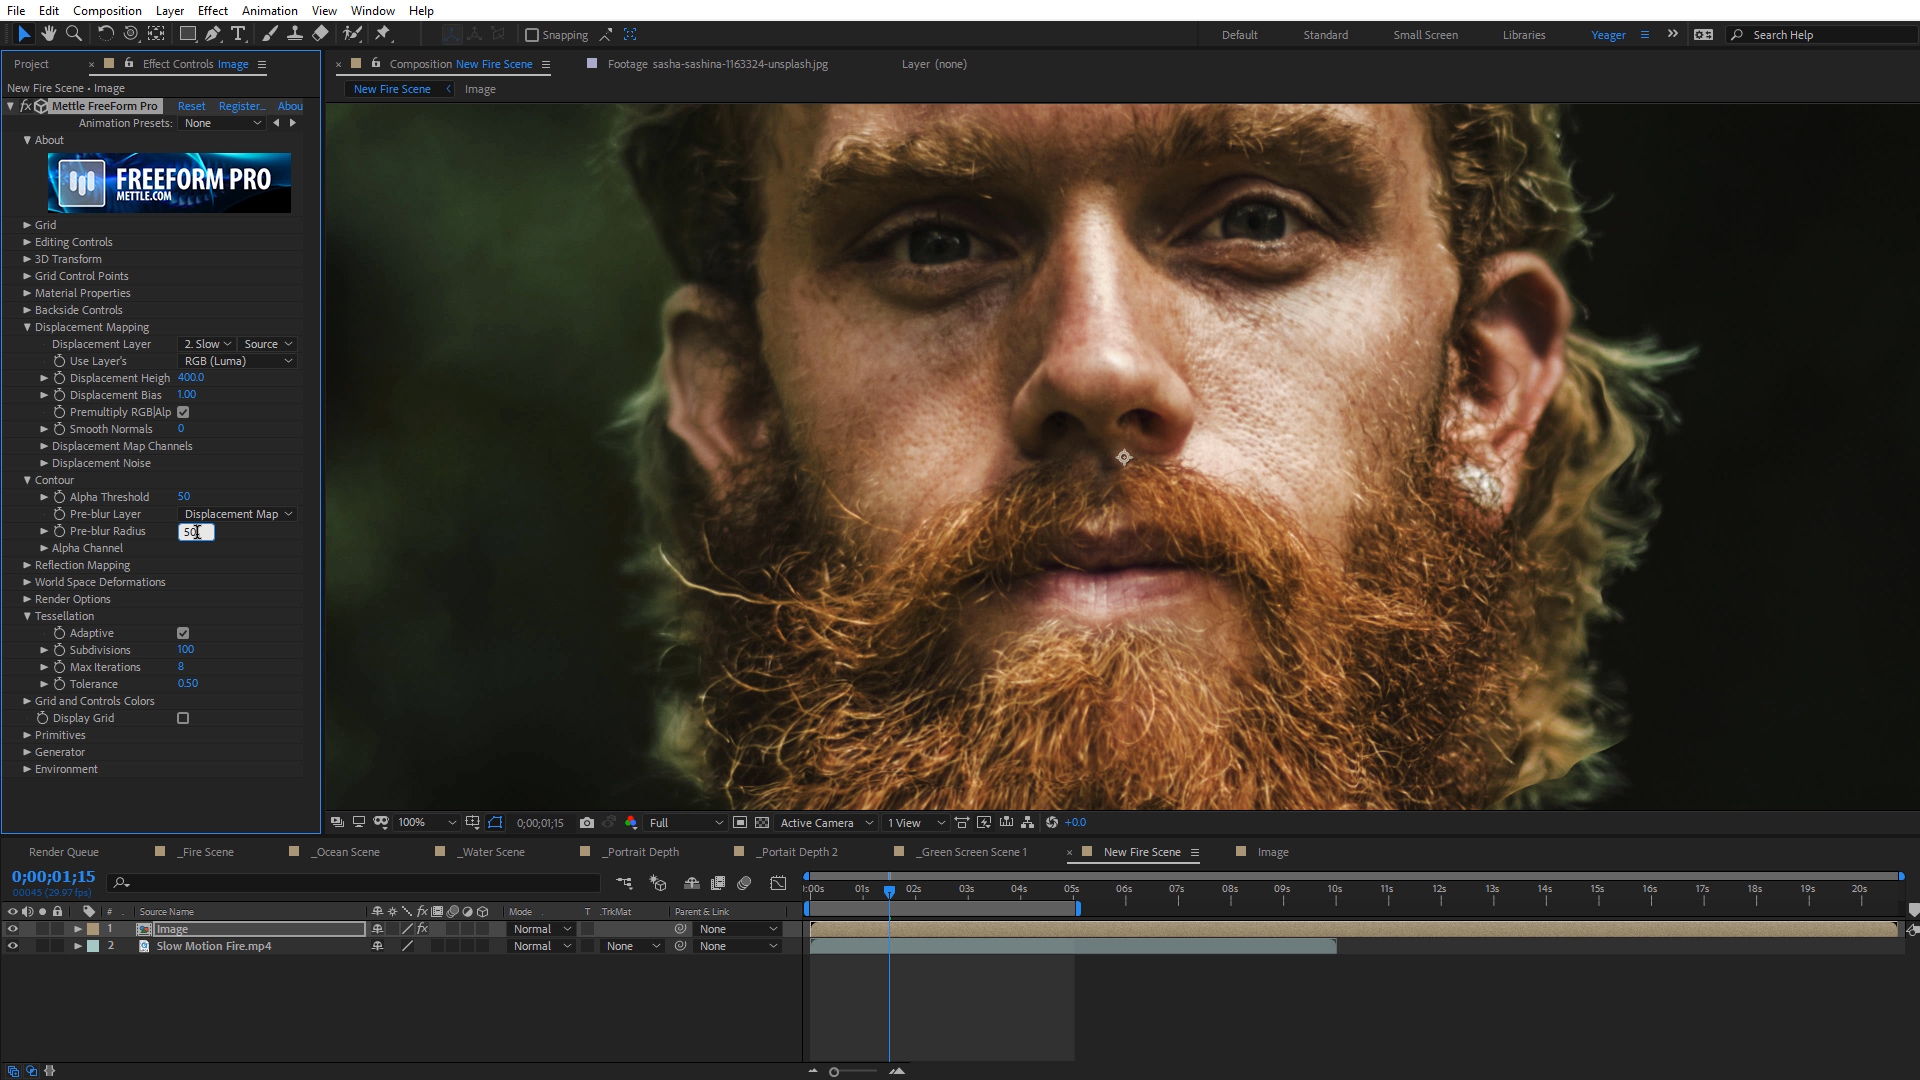
Refine look with contour.

Set footage to Luma Matte.

Add in visual accents.

Use different blending modes.
Displacement with overlay example.
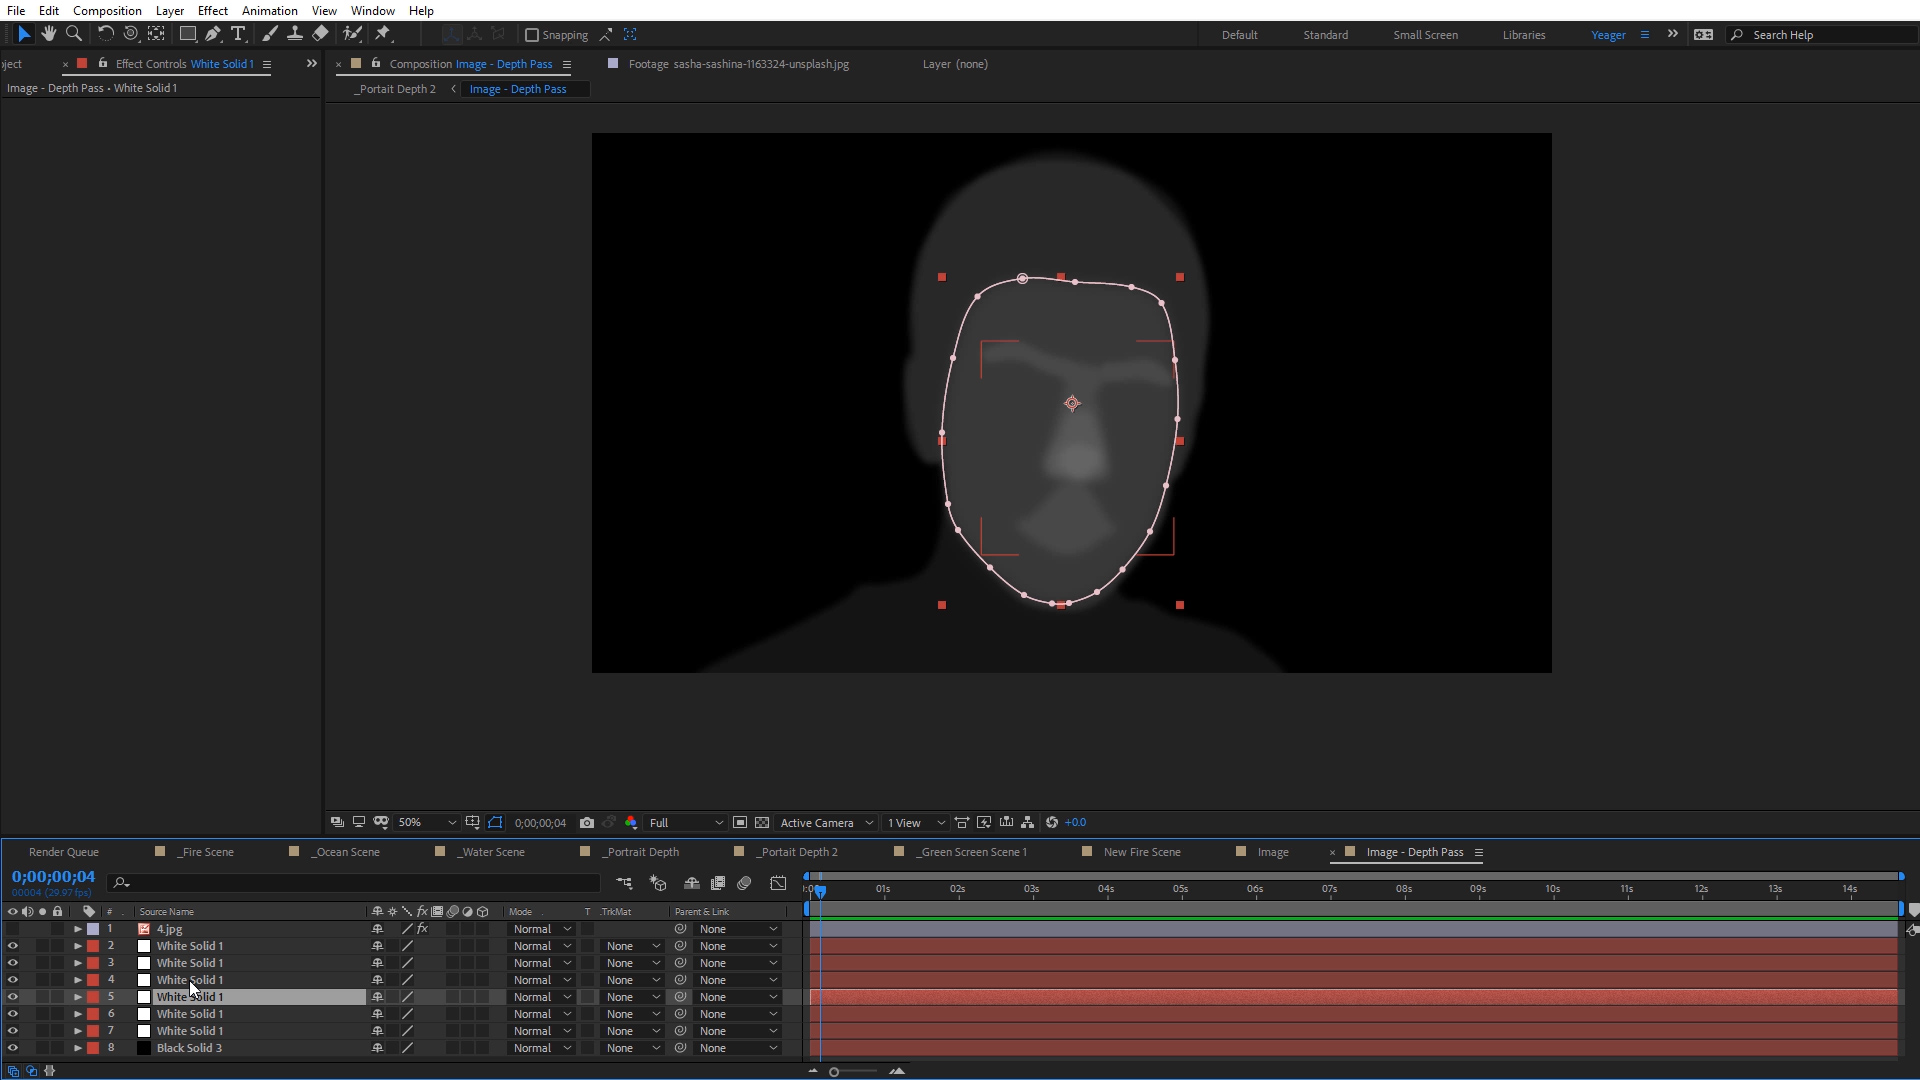
Create custom depth passes for images.
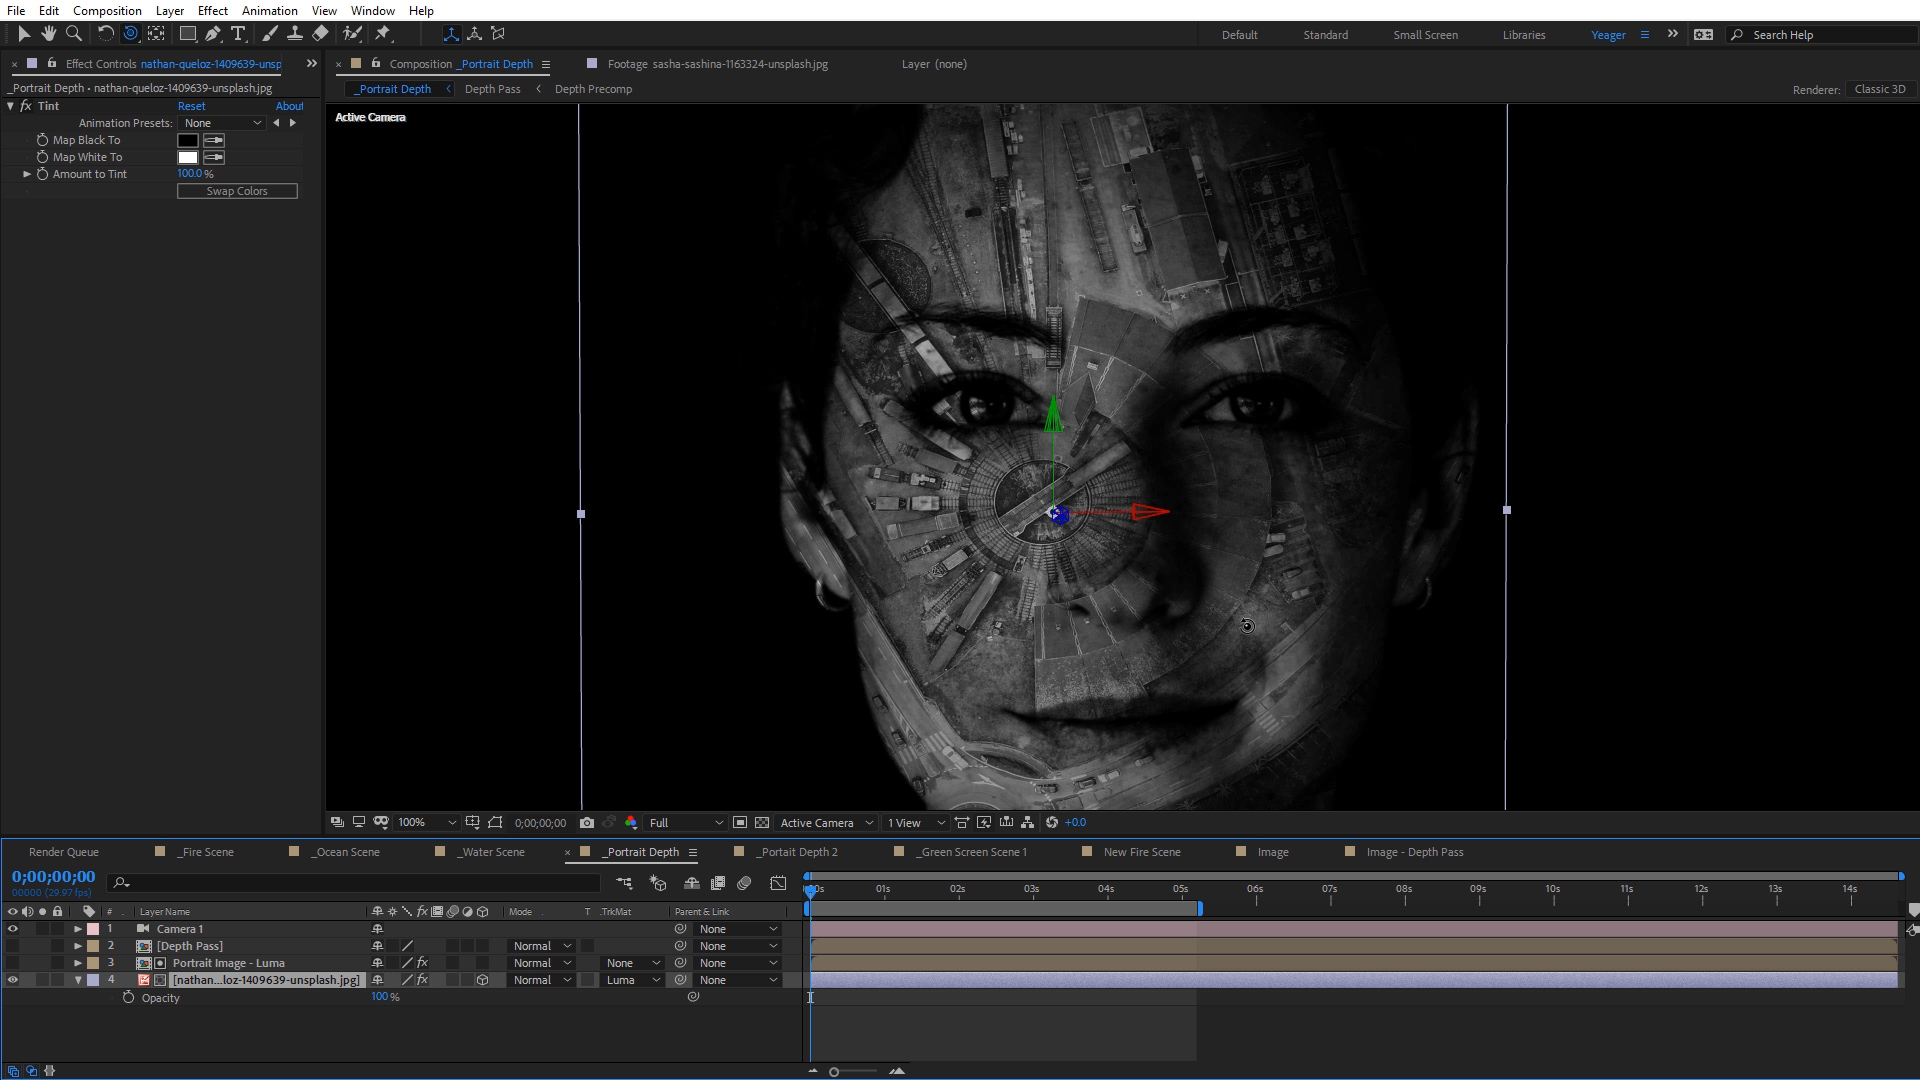
Offset Luma Matte images for depth.
Use green screen footage for more options.
Displace and matte footage.

Add in dust and textures.
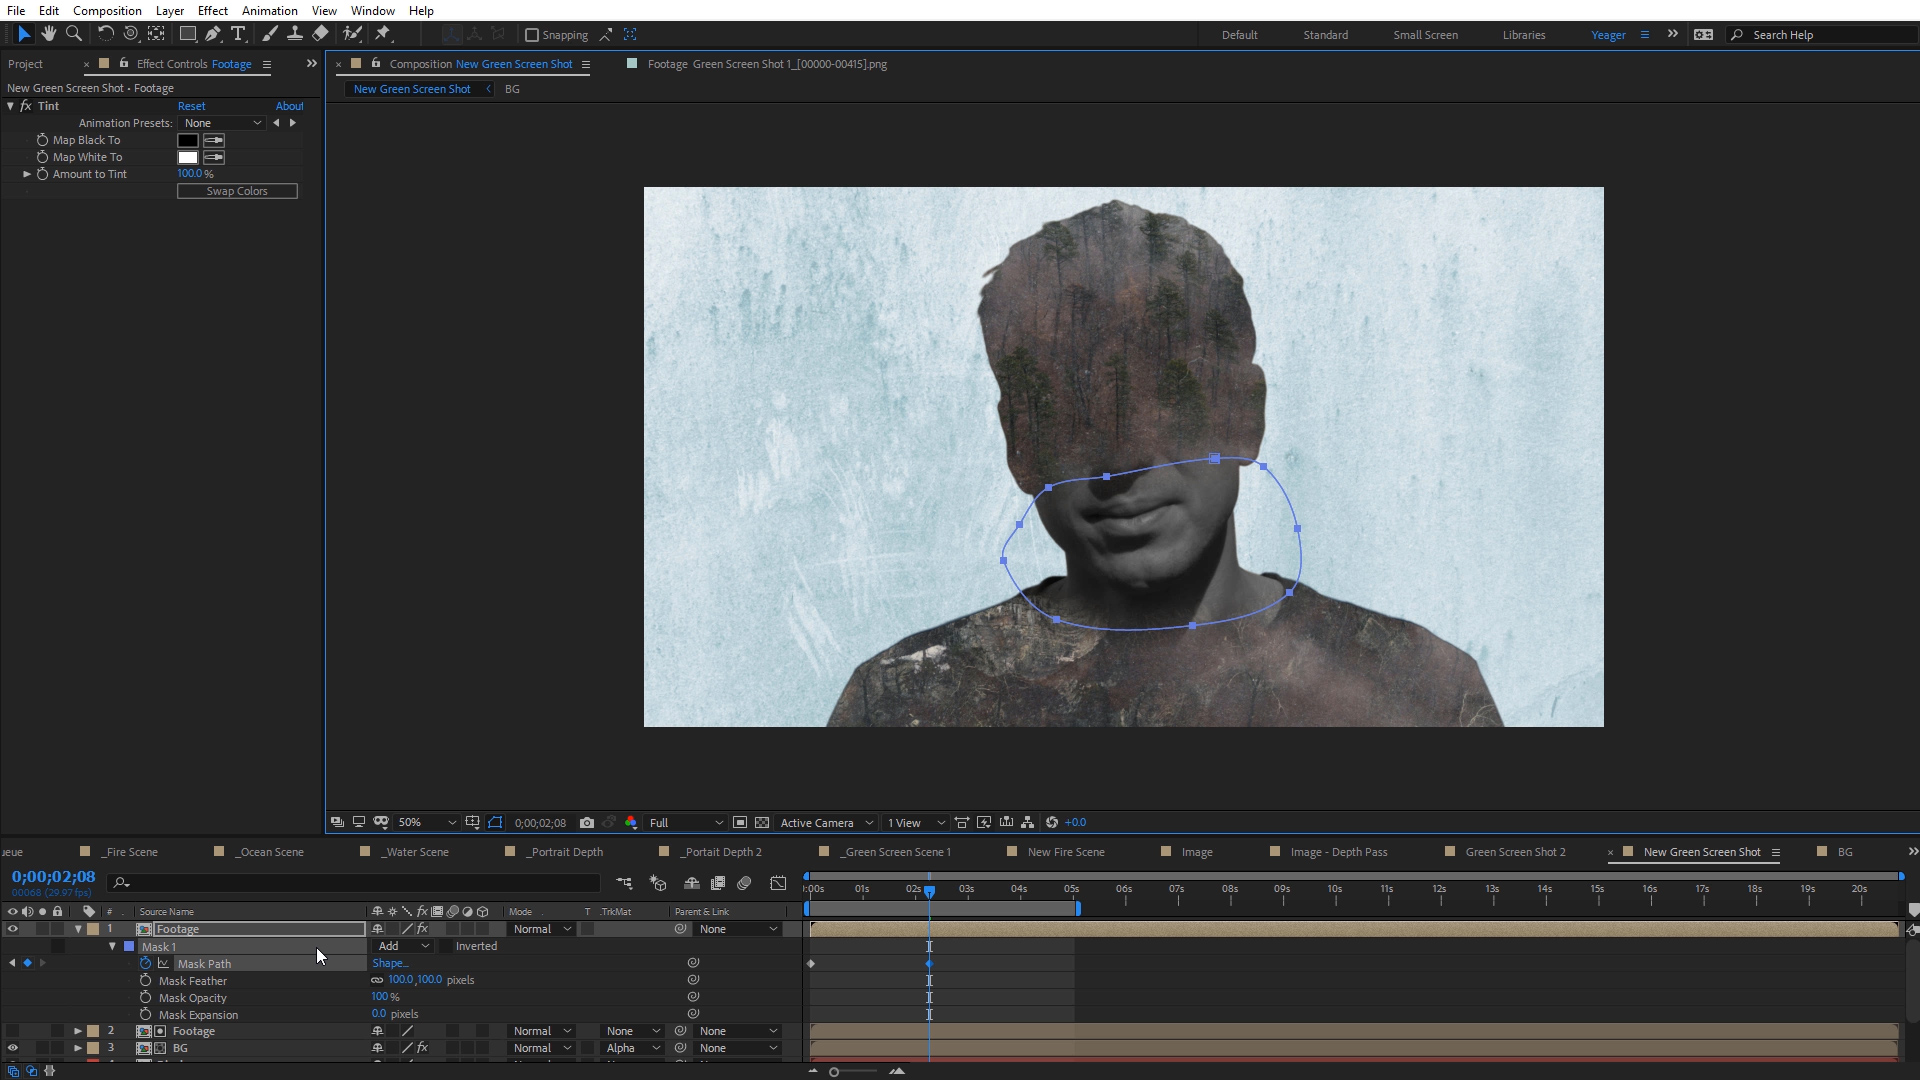
Mask and overlay footage for final look.

Charles Yeager is a Filmmaker & Motion Graphics Artist currently residing in Arkansas. His projects have been recognized by Canon, Video Copilot, Vimeo, Filmmaker IQ, No Film School, Film Convert, BOOM Library & Filminute. See his portfolio at yeagerfilms.com.
Charles is the author of numerous Mettle tutorials on video post-production in After Effects and Premier Pro. You can find them in the tutorial sections on our website.


