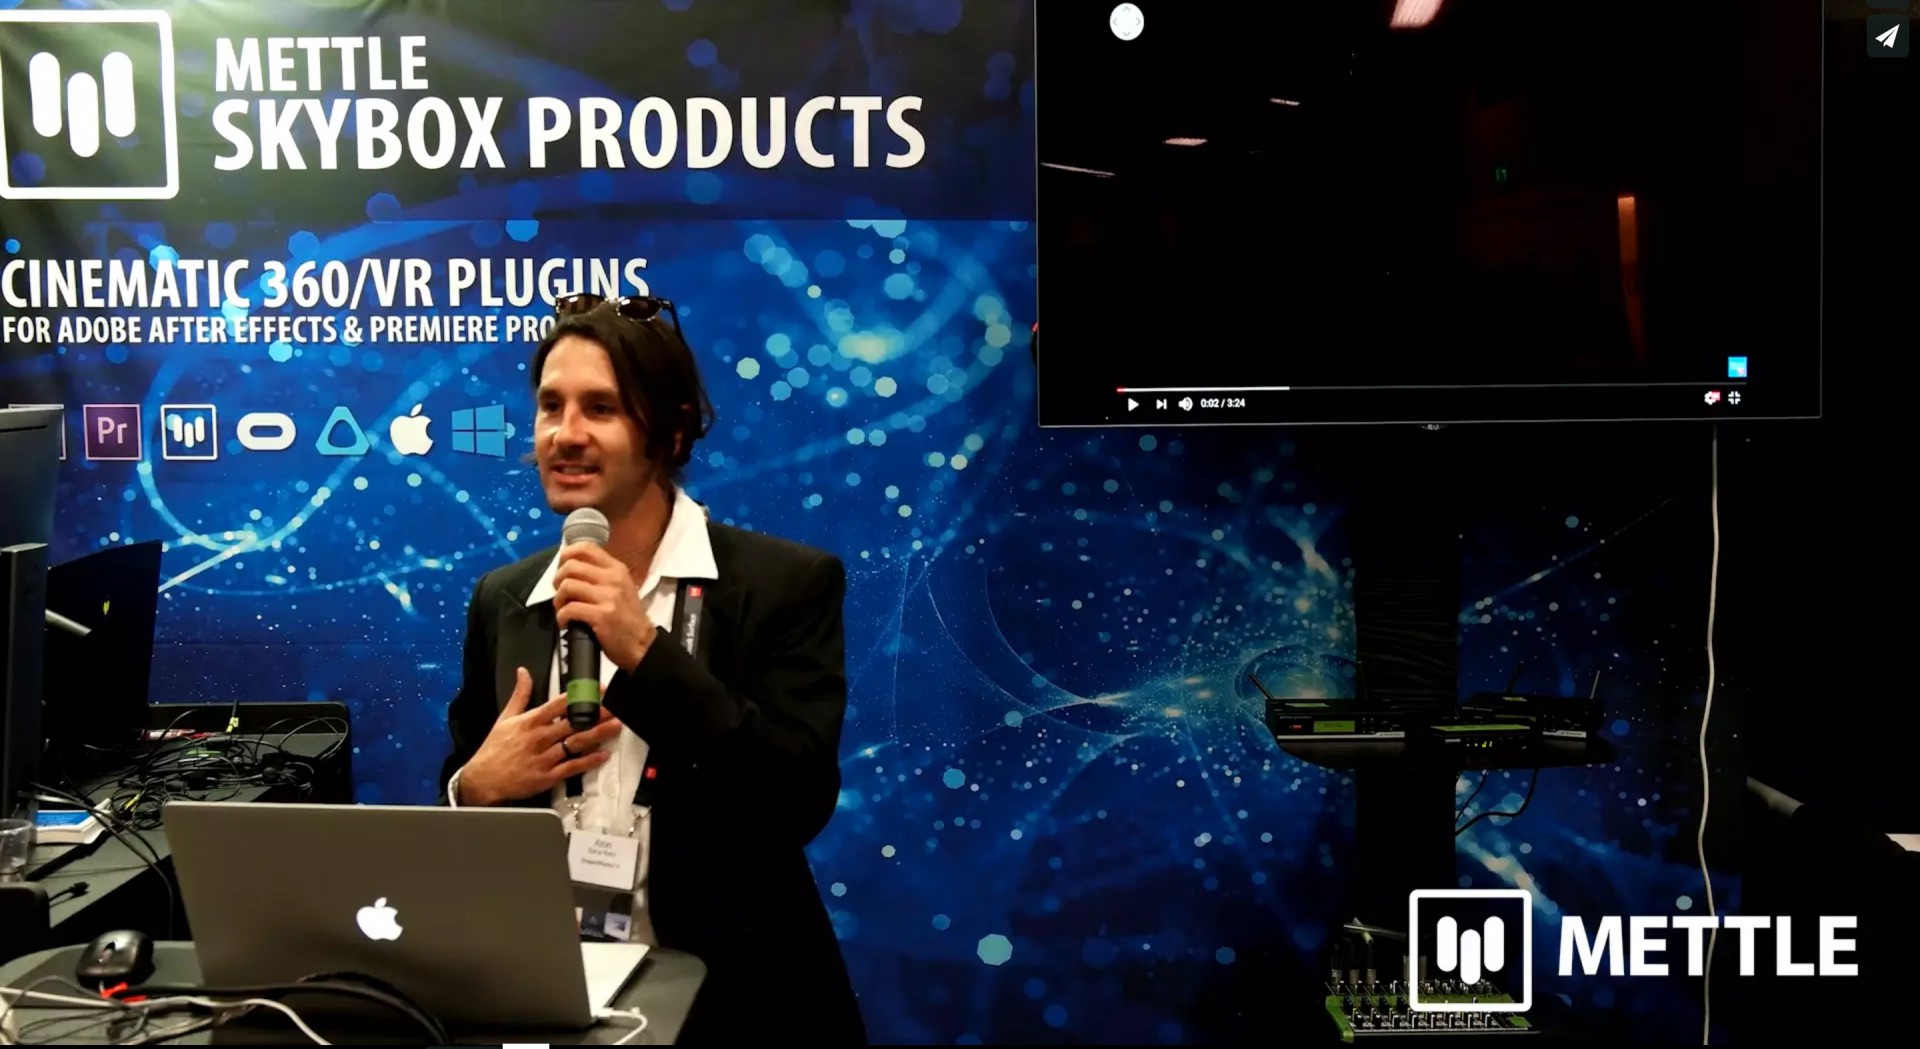
From PhotoShop to 360 Video in After Effects | Aton Sanz-Katz | Adobe Max 2016
Aton Sanz-Katz, Animator/Director at DreamWorksTV shows how to create an underwater 360° scene in After Effects, using 2D PhotoShop image and SkyBox Studio. It is a technique that was used to create the underwater scene in the DreamWorksTV 360 Music Video Mama Said by Lukas Graham – Cover by Mackenzie Sol.
This presentation is part of a series from Adobe Max 2016, hosted by mettle.com: mettle.com/mettle-showcasing-360vr-filmmakers-at-adobe-max/
You can also watch Aton’s tutorial: 360/VR Monsters of the Deep Tutorial , where he shows the same technique.
From PhotoShop to 360 Video in After Effects | Aton Sanz-Katz | Adobe Max 2016

Follow along in the timeline:
Anton Sanz-Katz from DreamWorksTV shows you how build an underwater environment from stock 2D elements using Photoshop, After Effects, and SkyBox V2.
0:51 – The first task when creating a 360 environment from stock 2D images is to make the background image seamless. This will allow the image to wrap around you in the 360 environment without having a harsh vertical line, and a pinched top (zenith) and bottom (nadir) visible to the viewer. We’ll start with our background image.
1:20 – in Photoshop, we divide the image in half, copying one half and flipping that half horizontally, effectively mirroring half of the image.
1:26 – Moving that half to the opposite side of the image (*Be careful to position the new half exactly over the original half on the opposite side of the image. If it is one pixel away from the edge, you will end up with a one pixel seam when viewed in 360). Merge the two layers. This removes the harsh vertical lines, but it also means the centre and the left and right edges of the image will appear mirrored.
2:10 – Using the Patch Tool in Photoshop, you can clean up your image to increase the randomness and remove the details that make it obvious that you have mirrored the image.
2:39 – To test how well you have Patched away the telltale signs of a mirrored image, use Filter>Other>Offset in Photoshop. For the moment, we are only concerned with the Horizontal Offset.
3:43 – Open After Effects and create a new comp with your mirrored and Patched background image. Add the Mettle SkyBox Converter to the image.
5:29/5:33 – Precomp your image. Now we will fix the pinches at the zenith and nadir of your background image that are seen when viewed in 360. (To preview this, launch Skybox Viewer.)
5:53/5:56 – Drop SkyBox Converter onto your precomp and change the ‘Output’ parameter to Cube-Map.
6:58 – Render out/Export the Cube-Map version of your background image, in order to work with it in Photoshop easier.
8:00 – Using the Patch Tool again, clean up the pinched zenith and nadir points of your image, then save the image.
9:36 – Import the updated background image into your After Effects Project bin and drop it into your Composition.
9:53 – Precomp the two layers and add a SkyBox Converter to the Precomp. Make sure the ‘Input’ parameter is set to Cube-Map, and the ‘Output’ parameter is set to Equirectangular.
11:25 – Adding and distant elements to the zenith or nadir of your 360 image, is as simple as dropping them directly onto the upper and lower arms of the Cube-Map cross. Precomp the newly added distant elements and the background Precomp.
17:08 – Added elements that are closer to the viewer will need to conform to the Equirectangular warping required by 360 footage. Import your another new element and drop it into your composition. (*QUICK TIP: In Anton’s example, he imports a Kraken element that has been animated using After Effects’ Puppet Tool in a separate composition. He must return to that original composition to do any resizing. If you are adding an element that needs to be resized, it is best to create a new composition for that element that is the same size as your working composition, resize it in that composition as needed, then nest that composition in your working composition. DO NOT resize your added element directly in your working composition.)
18:35 – Add SkyBox Converter to your newly added element. Make sure the ‘Input’ parameter is set to 2D Source, and the ‘Output’ parameter is set to Equirectangular. You are now free to re-orient the placement of the element using the keyable ‘Re-Orient Camera View’

Aton Sanz-Katz has been working as Director/Animator at DreamWorksTV, directing the channel’s first 360/VR project.
Aton graduated from Tisch School of the Arts at New York University with a degree in Film and Television and a winner of the Wasserman Award, receiving “The Charles and Lucille King Award”. In addition, Aton has a M.F.A. in Motion Picture and Television as well as Master’s in Animation and Visual Effects from the Academy of Arts University in San Francisco.
For the past 10 years he has acquired an extensive range of music video and commercial background, working with talents like Lady Gaga and Roddy Piper. In 2010 he produced and shot “The Emmy Award” winning series “The Bay”. In 2012 he worked with OPFLEX Environmental Technologies, alongside a team of engineers from M.I.T. to develop a mass oil clean up system, which was tested in the largest saltwater tank in North America.
Mettle Skybox Suite has joined Adobe.
Mettle Skybox Suite of plugins will be exclusively available as part of your Creative Cloud membership through deep, native integration with Premiere Pro CC and After Effects CC. Adobe Creative Cloud will offer an end to end experience for crafting rich and compelling VR/360 experiences.
Learn more – Adobe and Mettle VR: 360 degrees better


